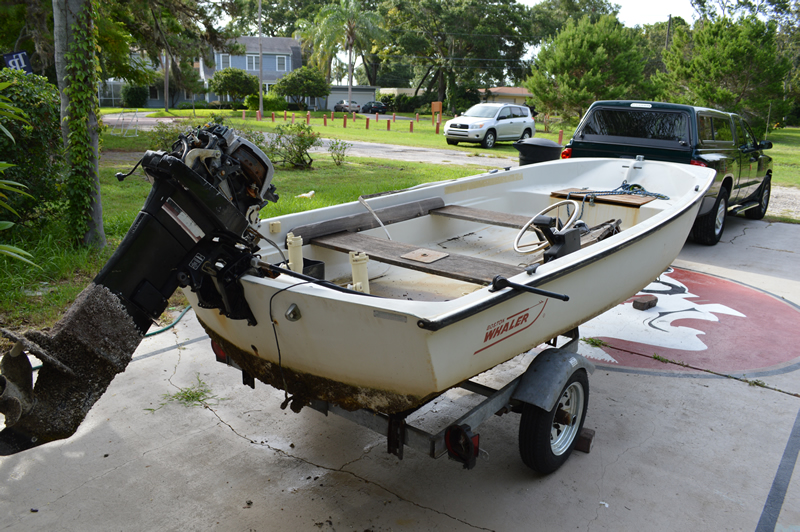
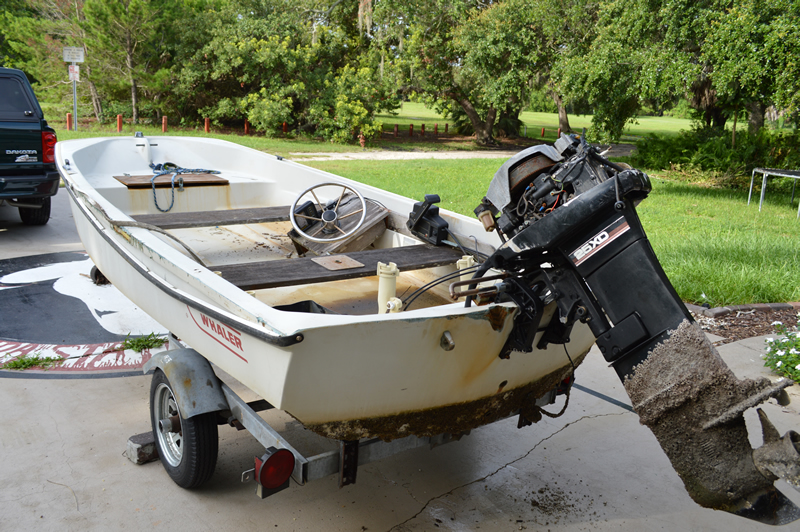
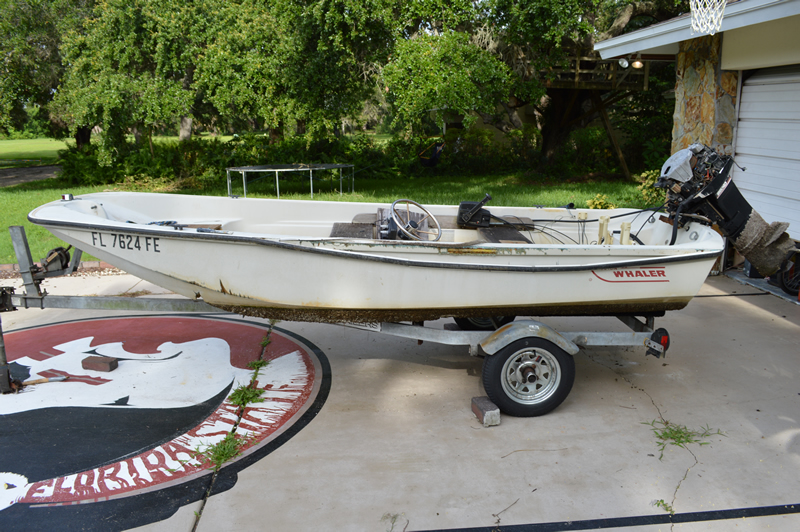
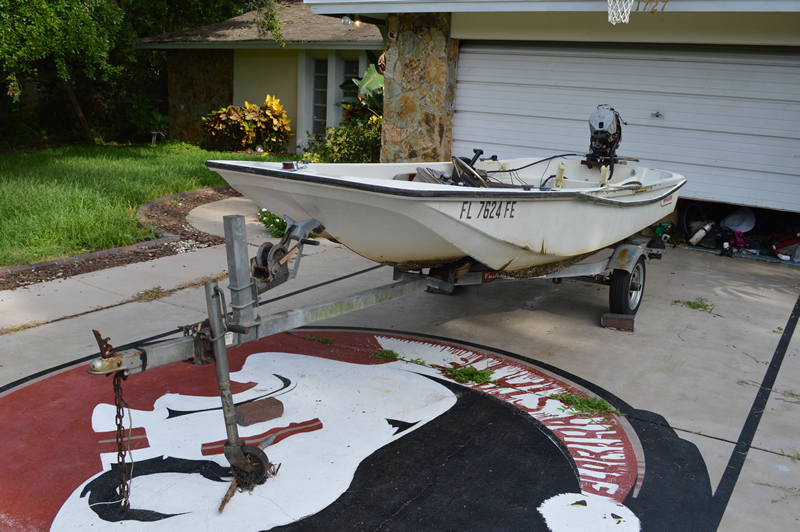
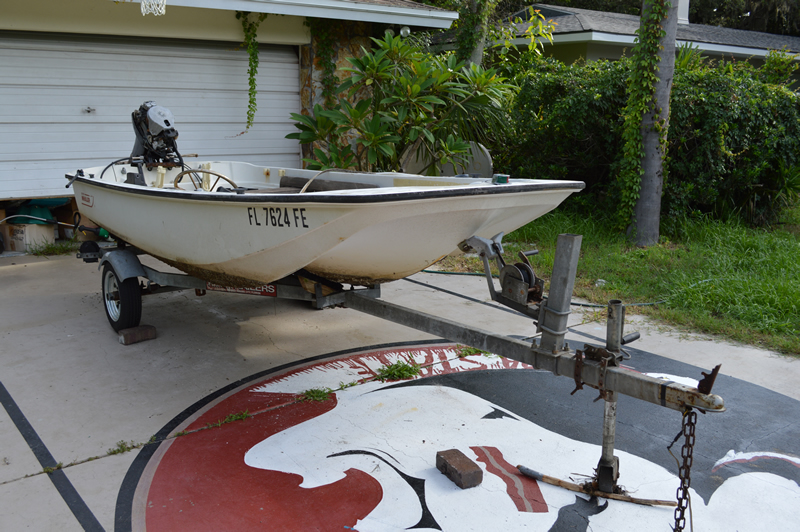
My late good friend, Rod Gorman, had a 13.5 Whaler that had been torn up pretty good in a storm and been sitting in the water for awhile. He offered it to my youngest, Connor, if he was willing to put in the time and effort to restore her sea legs.
Needless to say, he was pretty excited so we got some new trailer tires, a smaller hitch for the wagon and we managed to hoist it up on some open waterfront nearby (Rod came up with the plan and provided the muscle).
Needless to say, he was pretty excited so we got some new trailer tires, a smaller hitch for the wagon and we managed to hoist it up on some open waterfront nearby (Rod came up with the plan and provided the muscle).
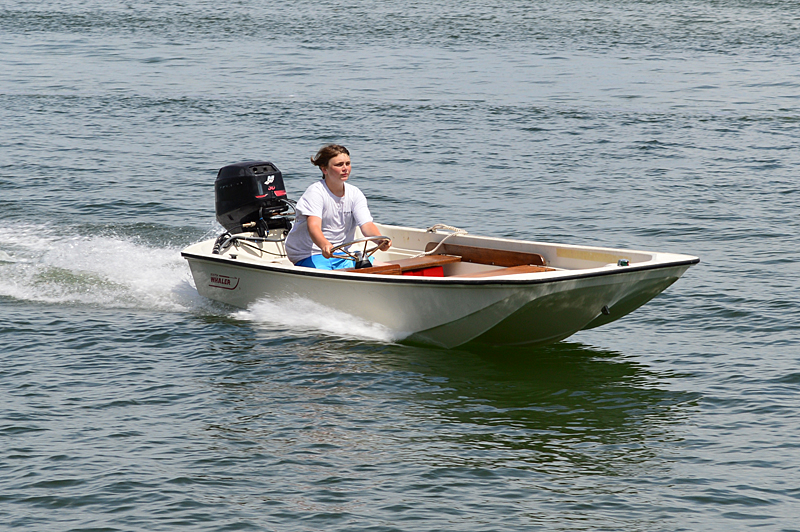
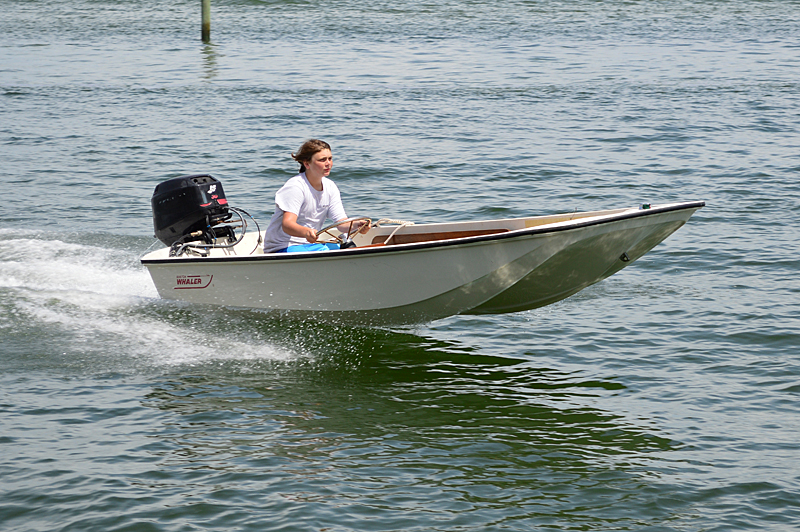
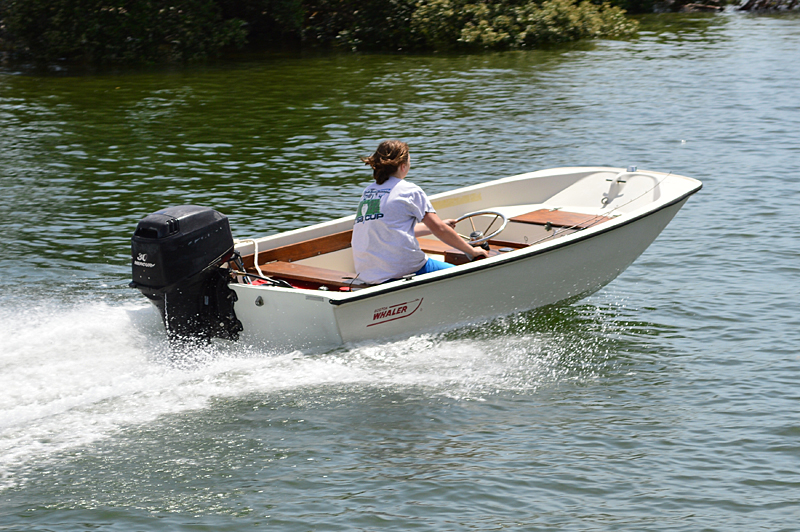
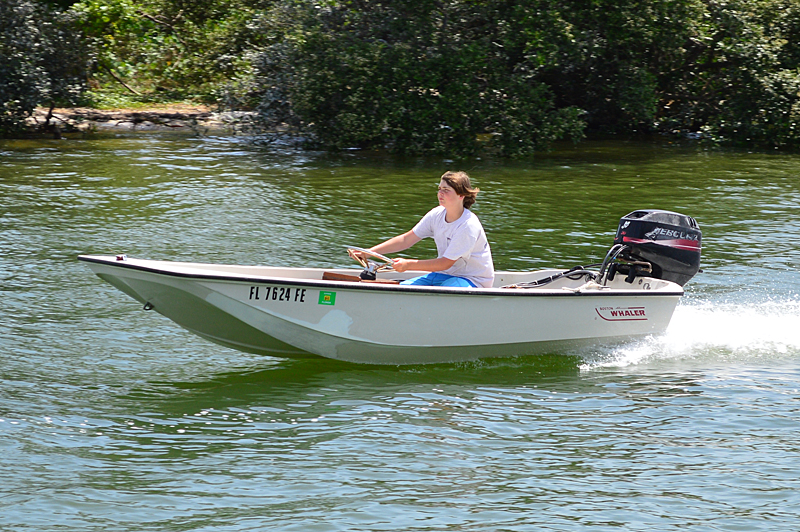
Coming Home

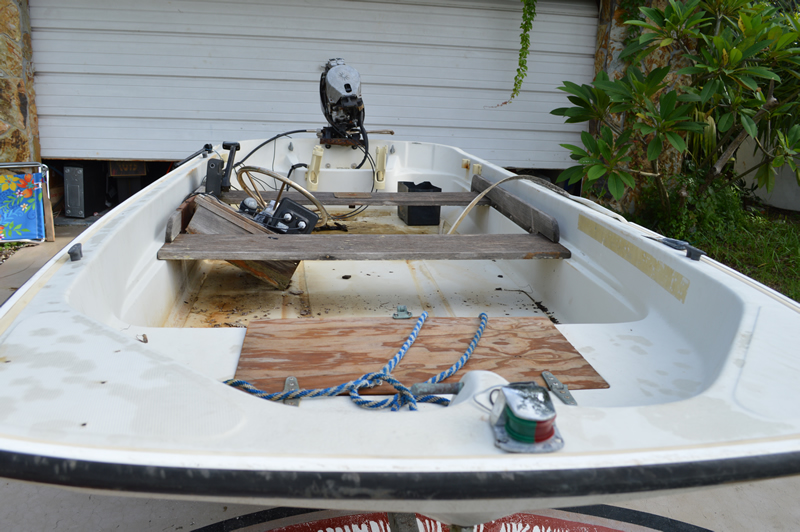
Stripping the Interior
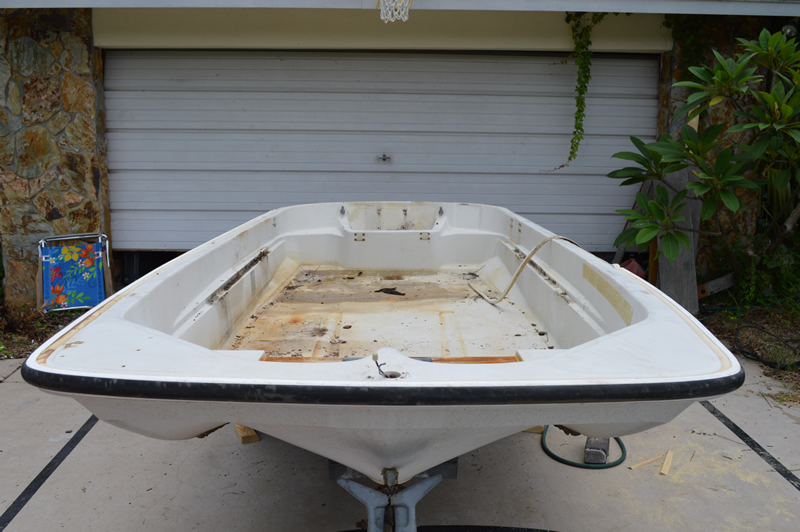
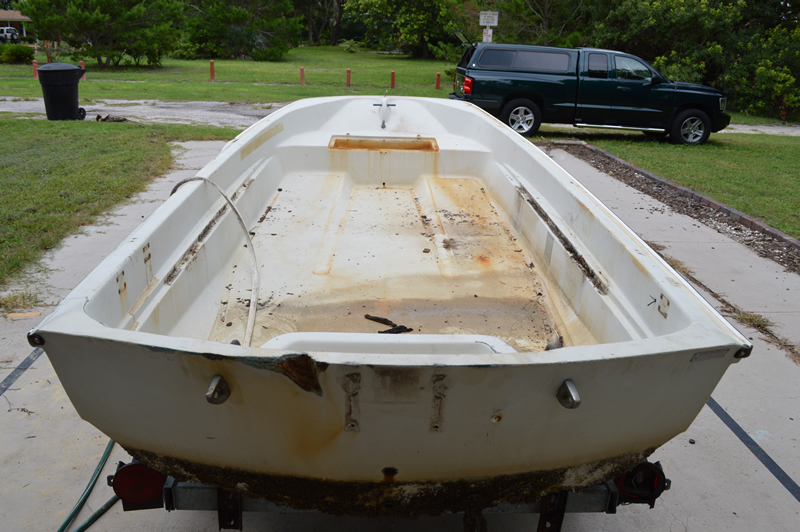
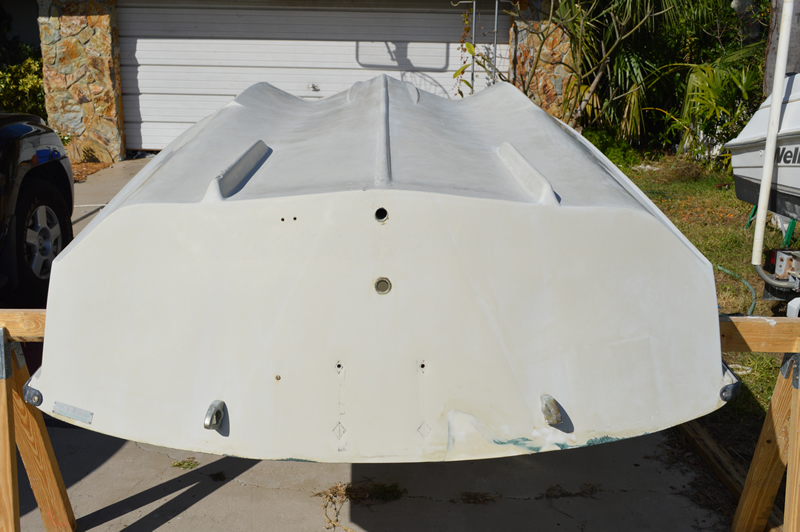
We asked Mr. Nick to come over and assess the situation and he couldn't have been more pleased for Connor's opportunity. Nick told us to remove everything but the main bolts from the from the hull, flip it over, get rid of all the barnicles and call him in a week (He and Cindy are taking a week at Yellowstone). Stripping the Interior
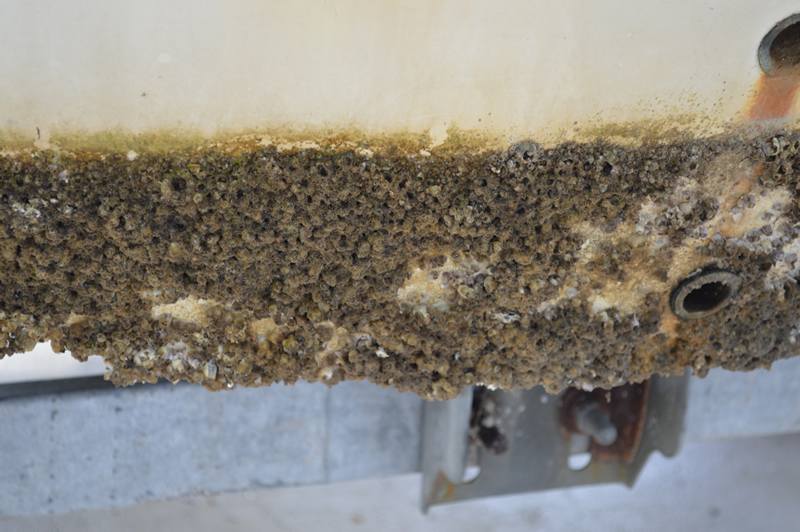
Barnacle Boy
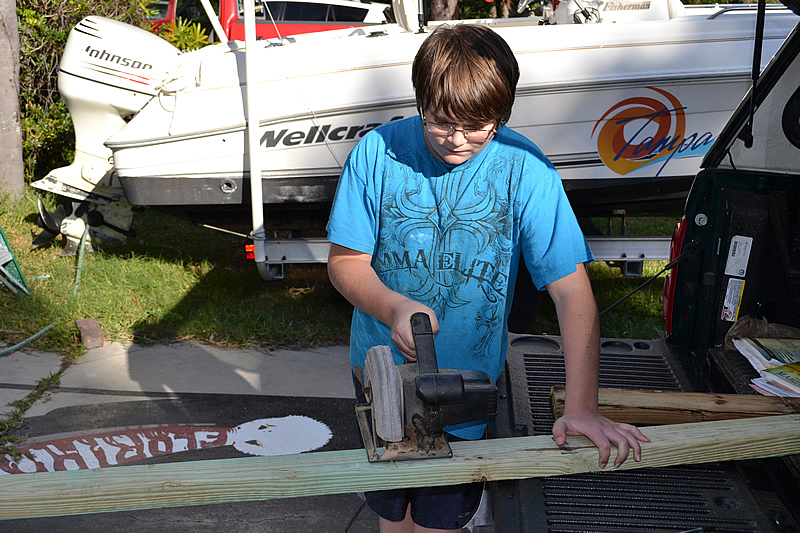
Connor cut the 2x4's for the saw horses and started in with the pressure washer on the barnacles. Neal jumped in with a scraper until one of the neighbors got home to help flip the boat.
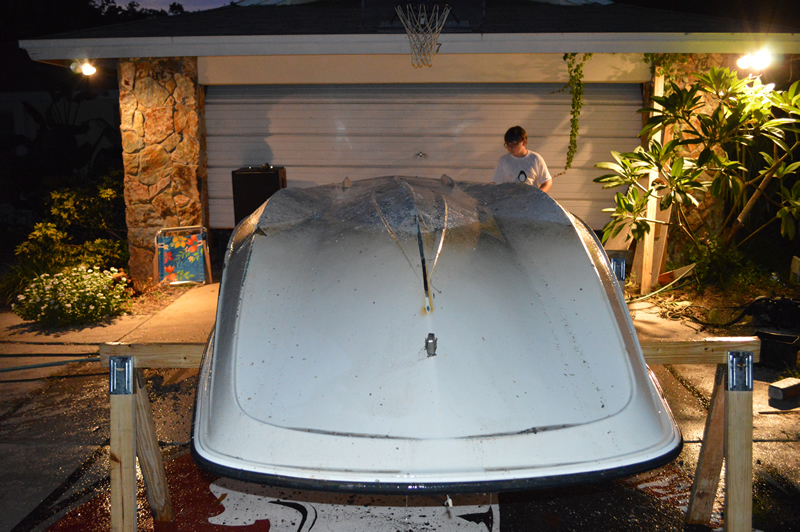
After the baseball game Luke and Mr. Jim came by to help flip it so the barnacle party could begin. Things were moving rather slowly until Mr. Jim decided that the flat shovel looked a helluva lot like a big ass scraper!
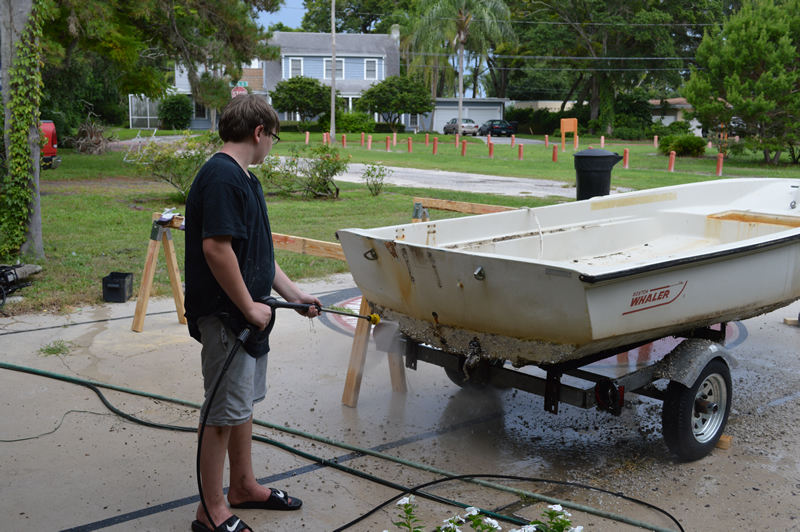
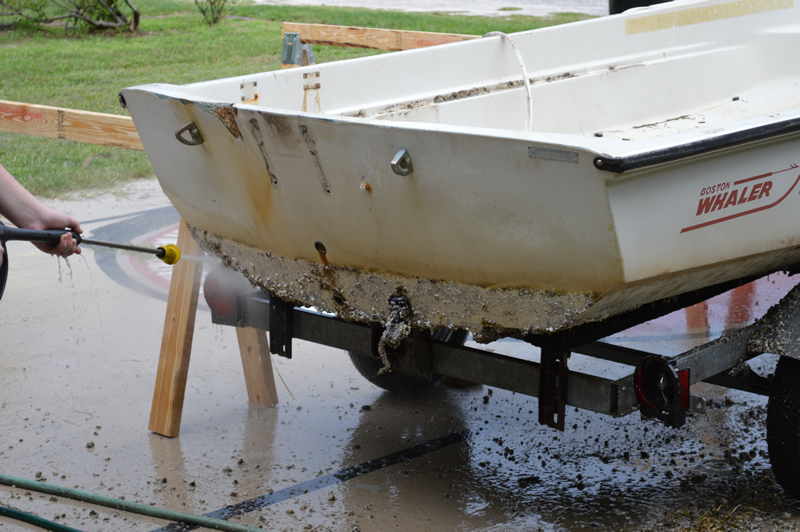

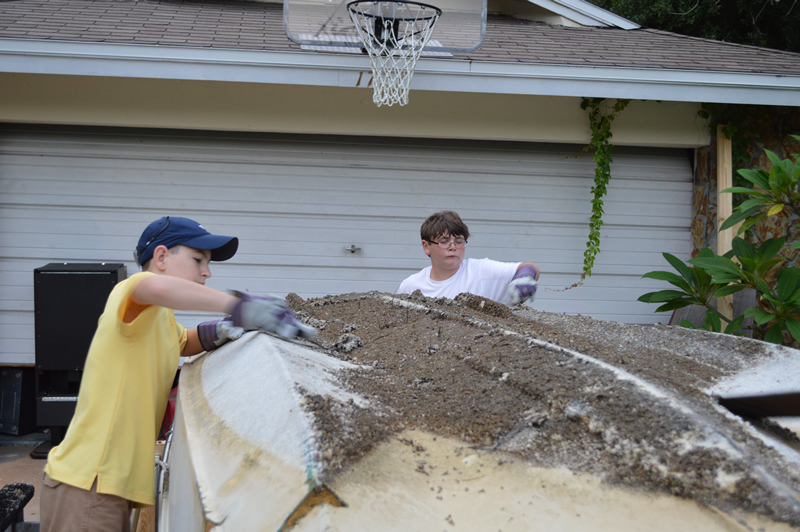
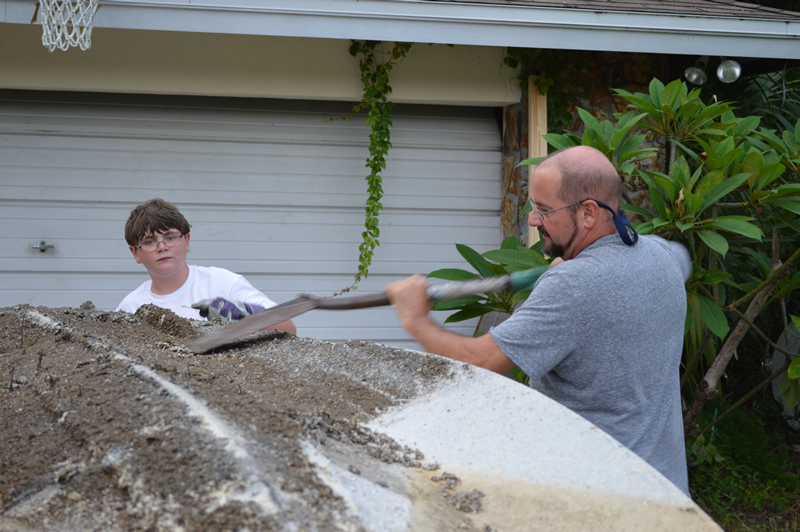
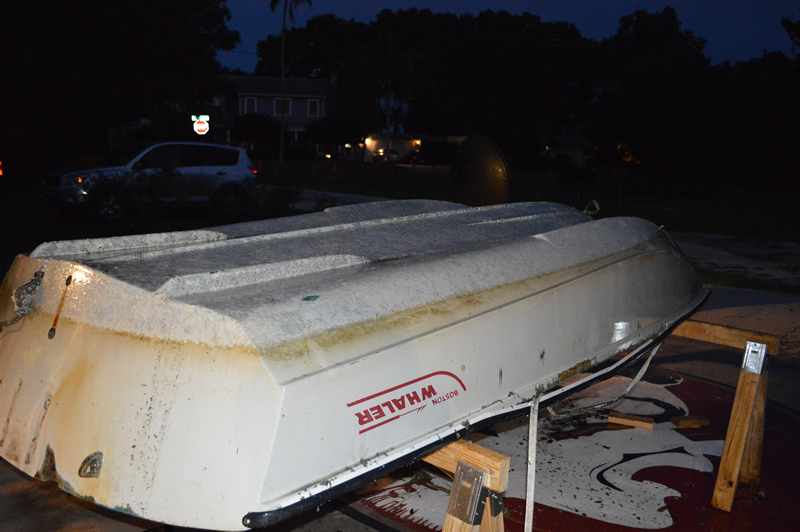
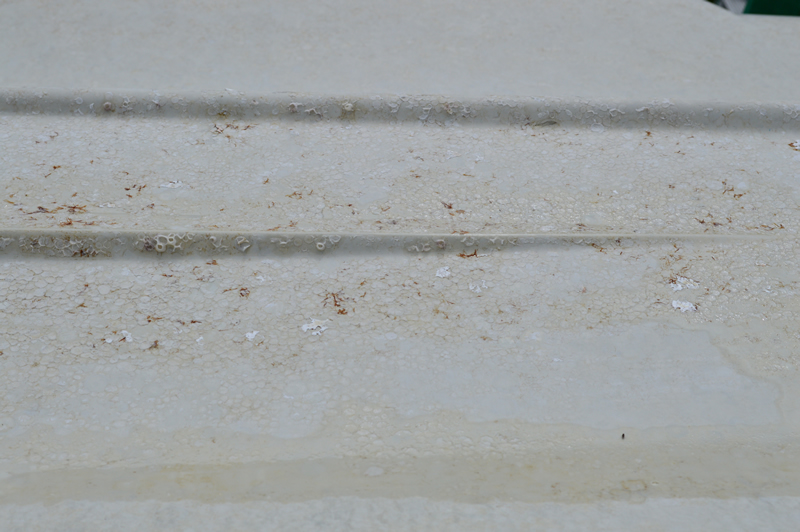
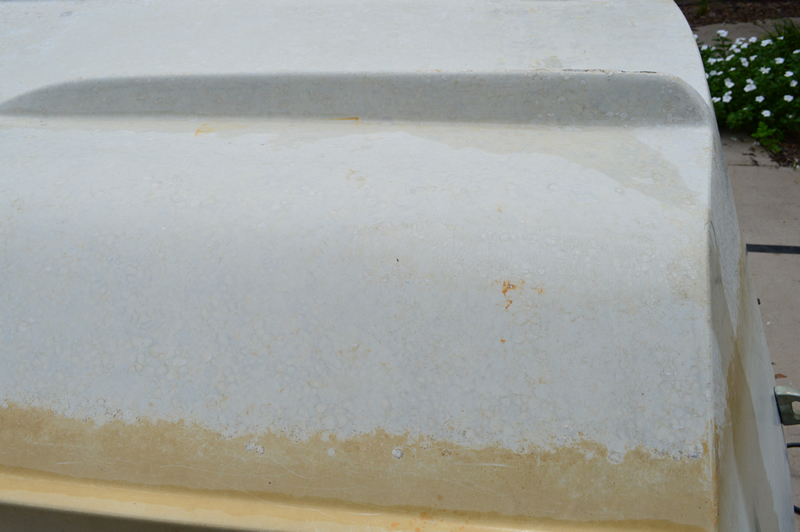
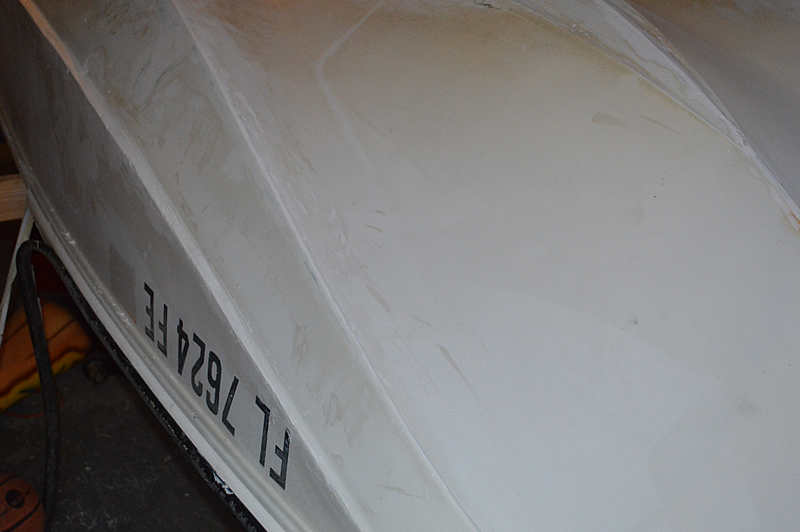
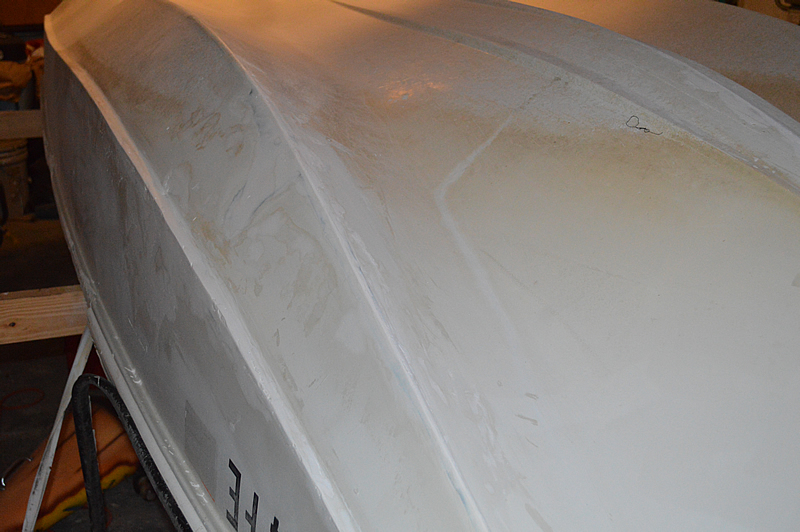
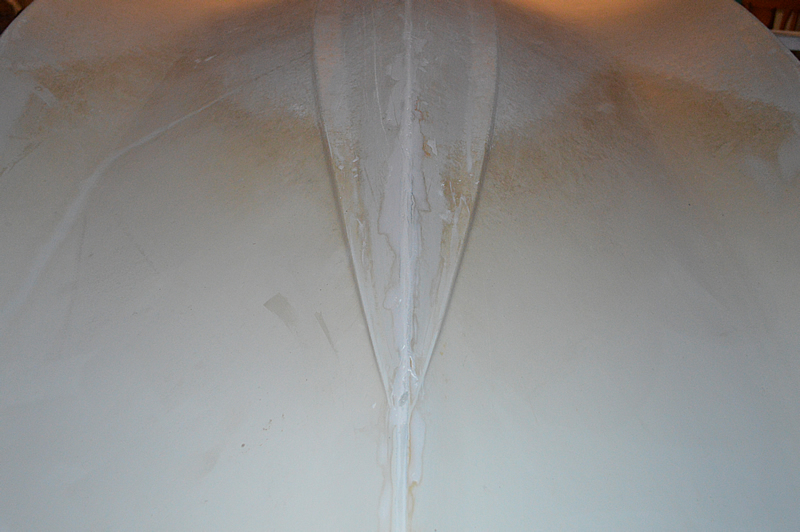
We spent the next couple of days going over every inch of the hull with two inch scrapers repeatedly to remove the stubborn, thin, crusty layer of these wonderful creatures.
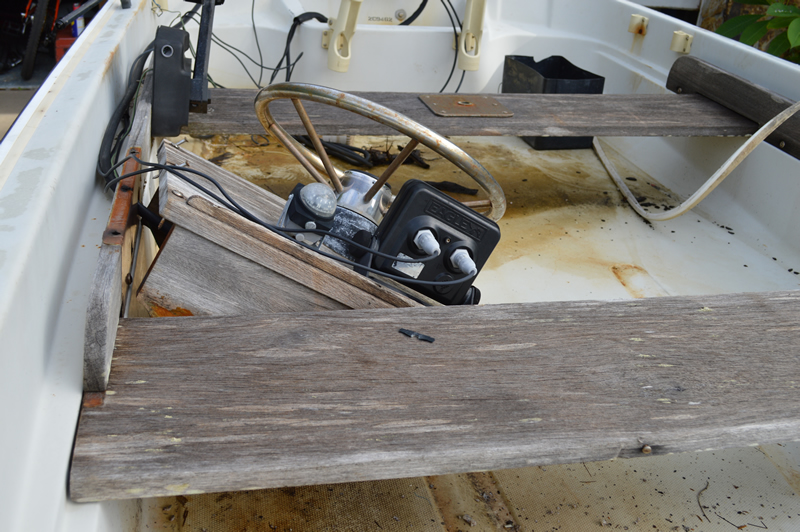
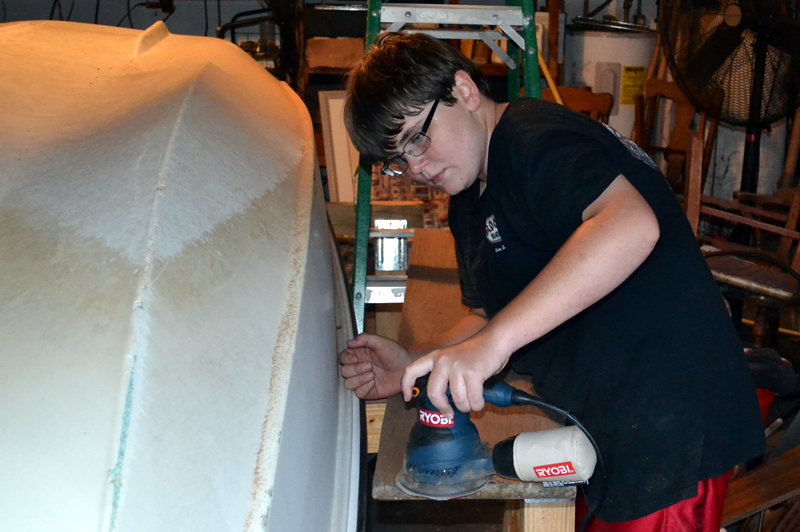
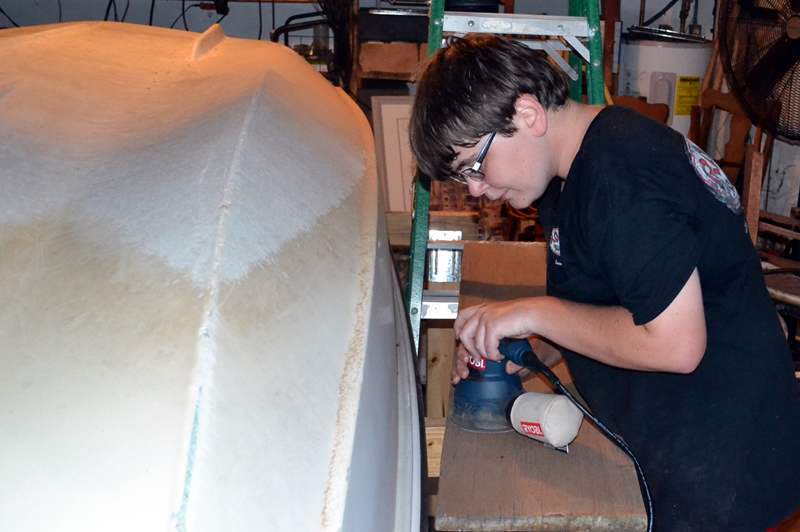
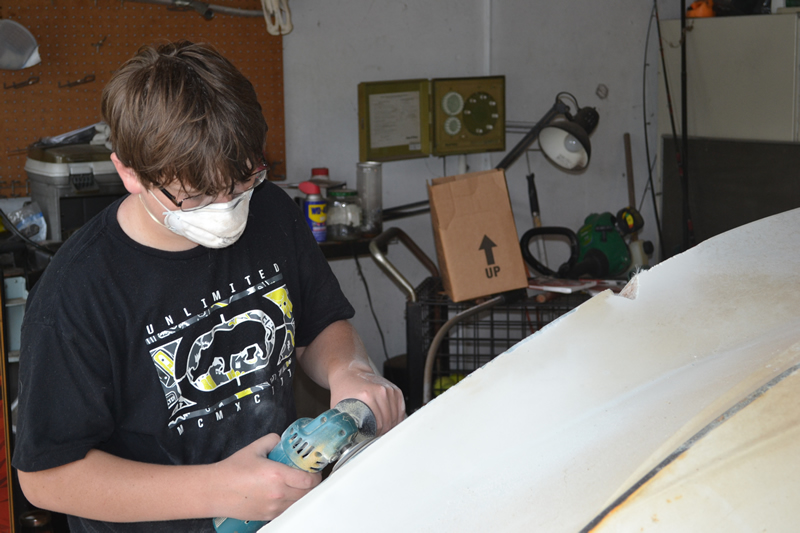
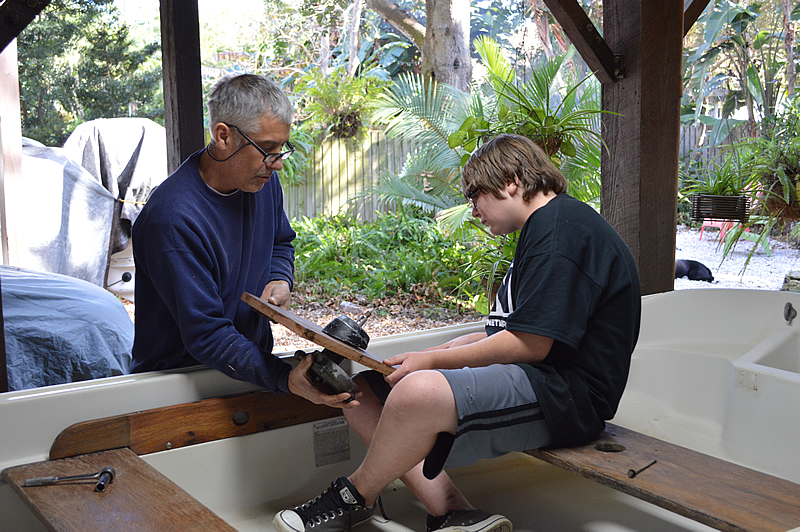
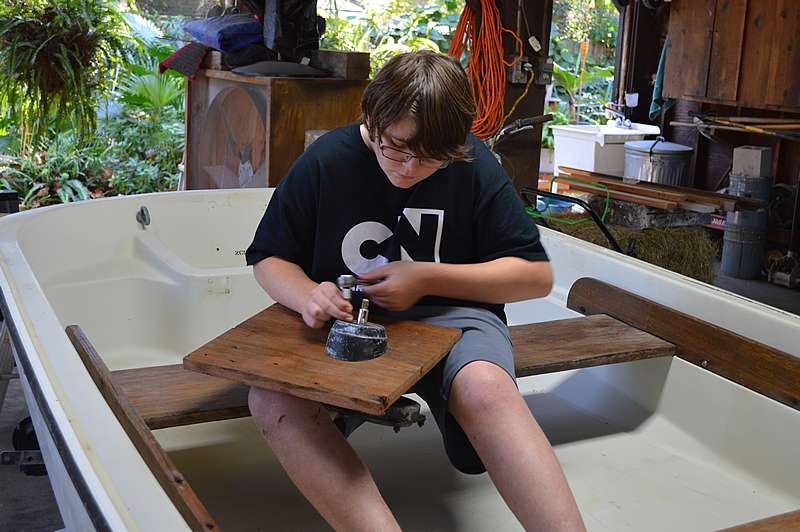
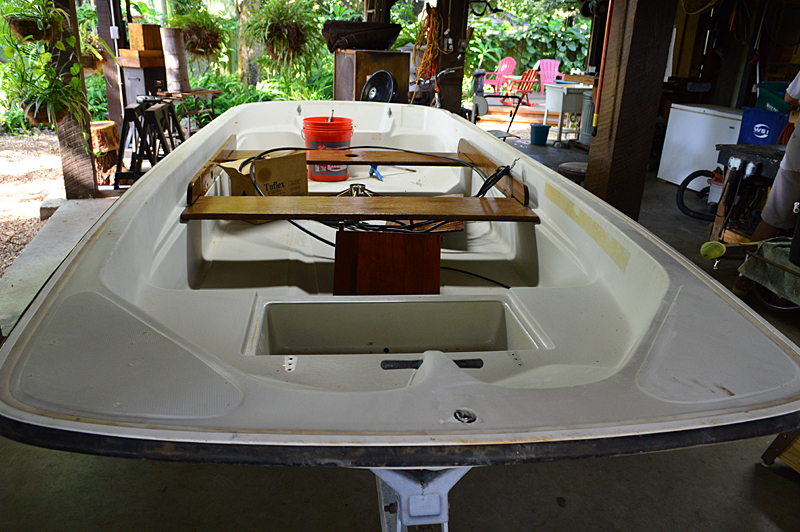
Steering & Sanding
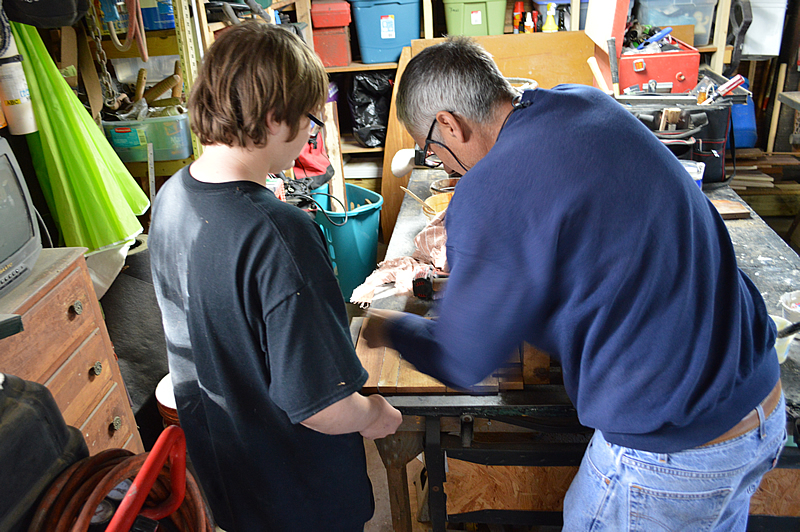
The next step was to dismantle the "console" and Sanding 101 so we headed off to Nicks shop where everything is always there... and where it's supposed to be.
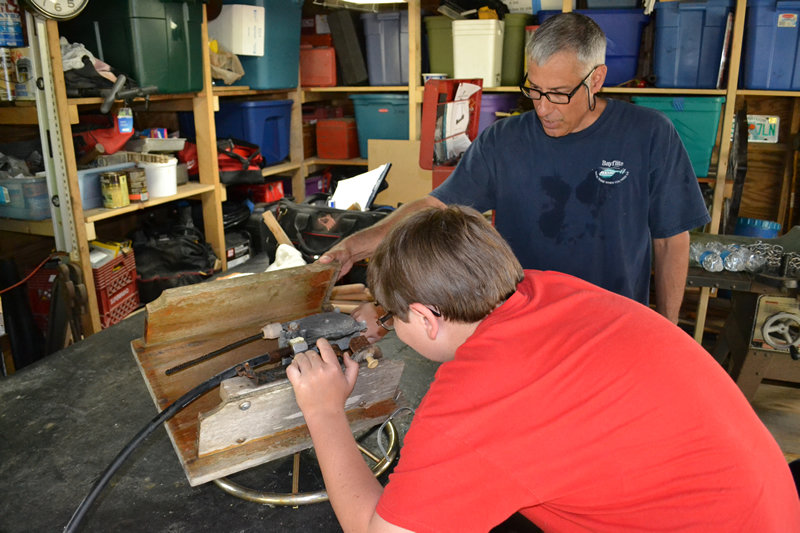
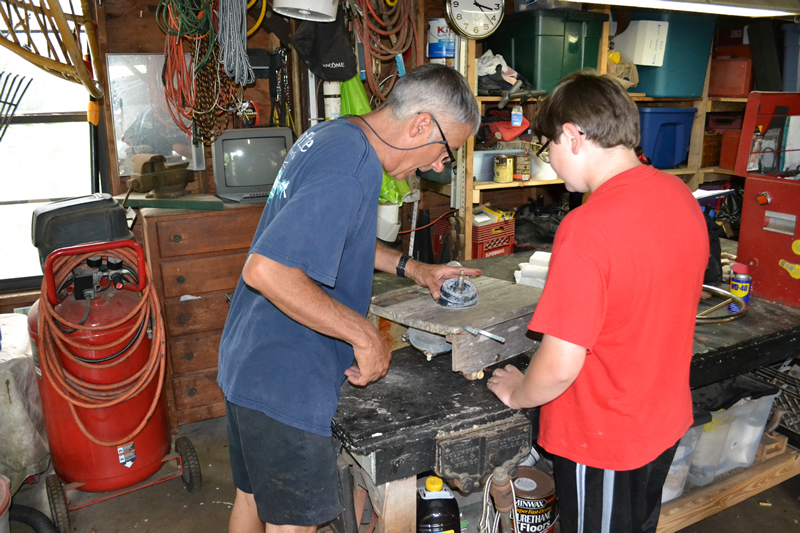
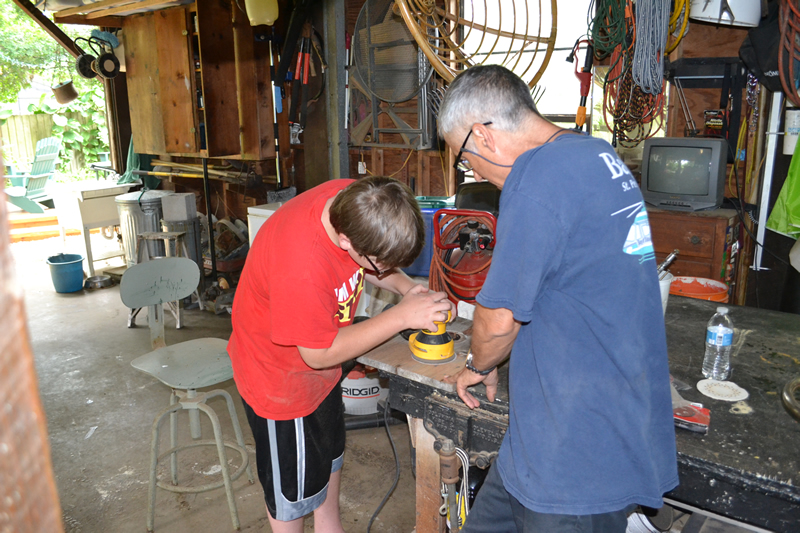
Connor jumped right in on the sanding knowing that when he was finished Mr. Nick was going to meet us at Fiberglass Coatings for the next phase of the project.
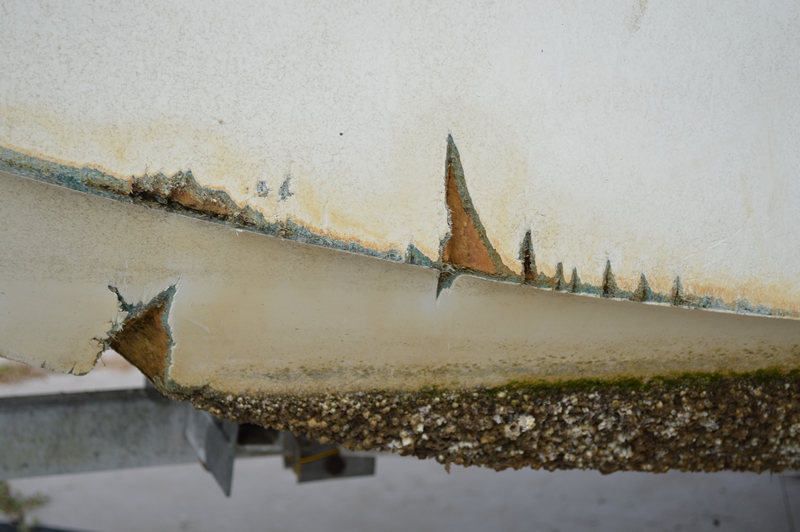
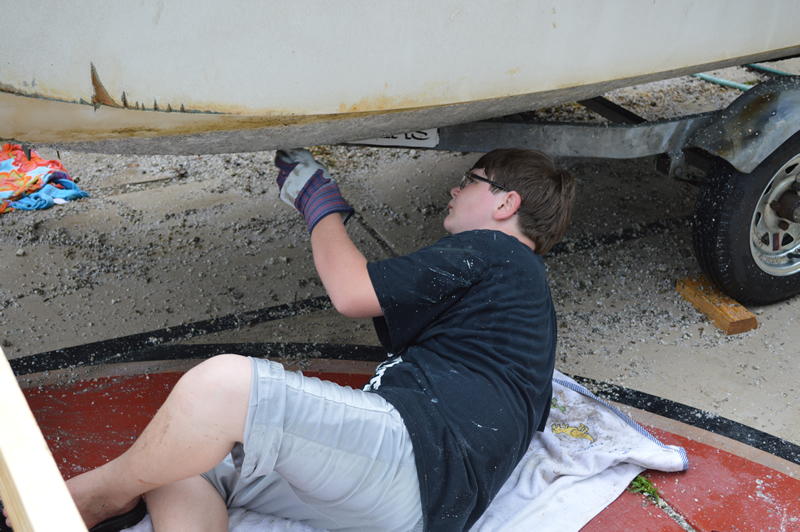
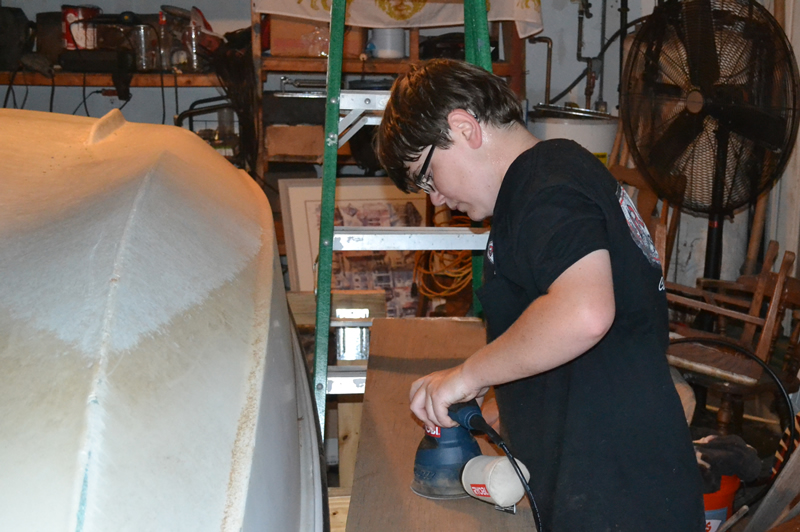
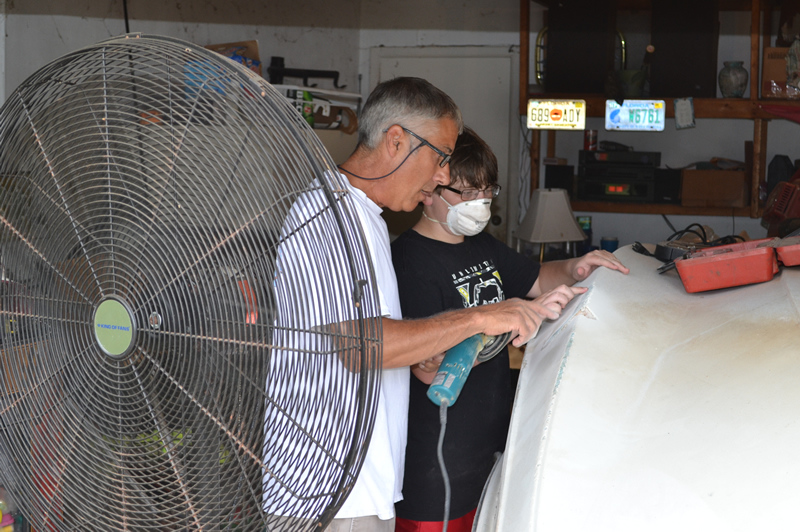
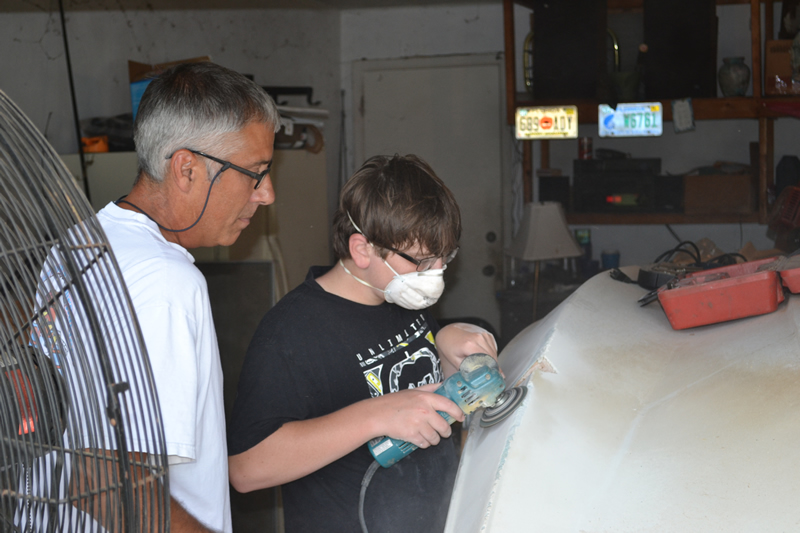
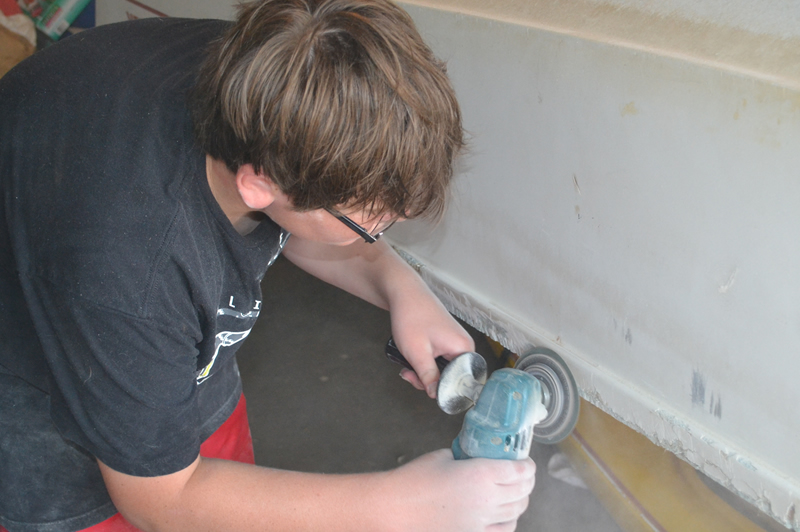
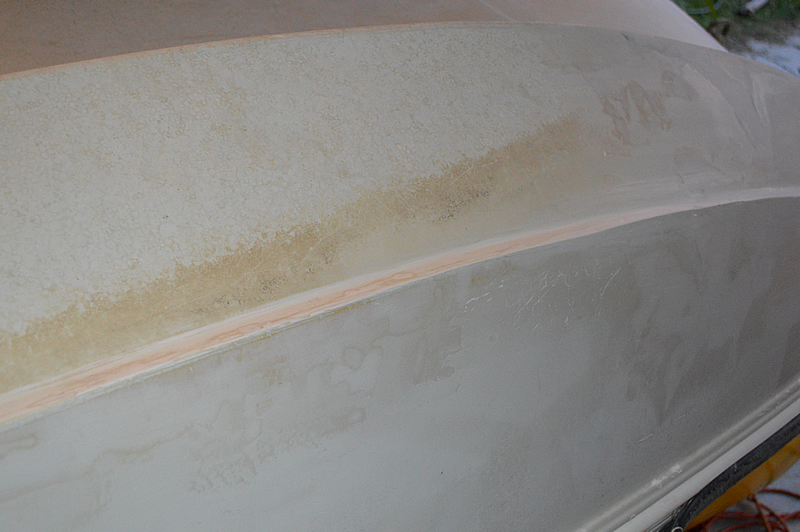
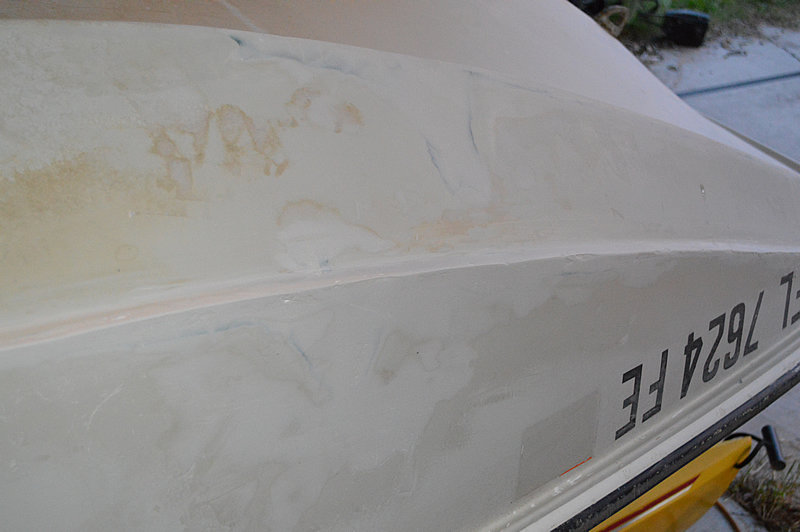
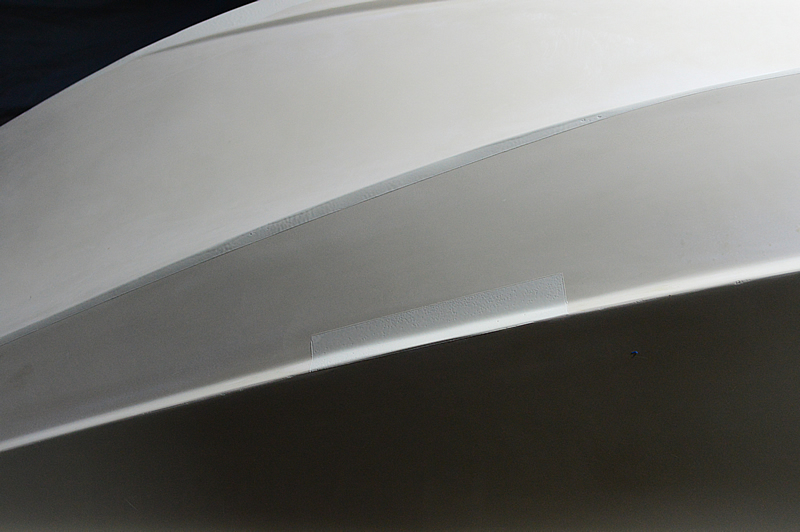
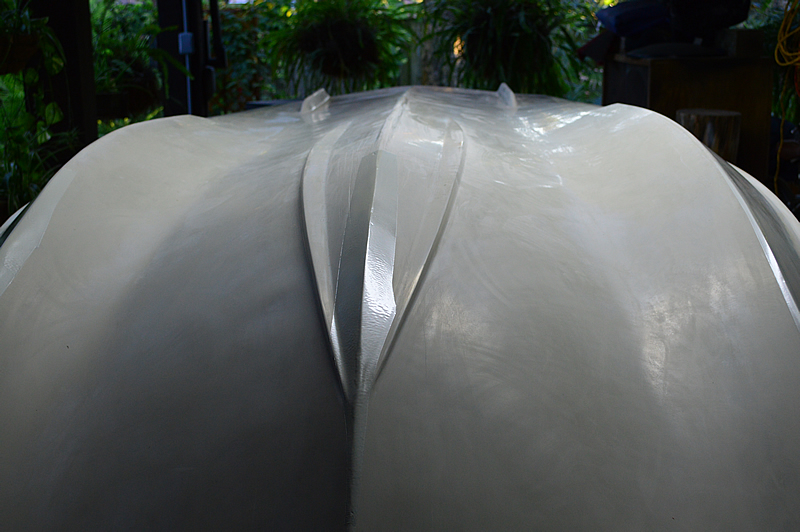
Before getting started on the repair the areas around the damage had to be ground down to remove the gel coat.
Before getting started on the repair the areas around the damage had to be ground down to remove the gel coat.
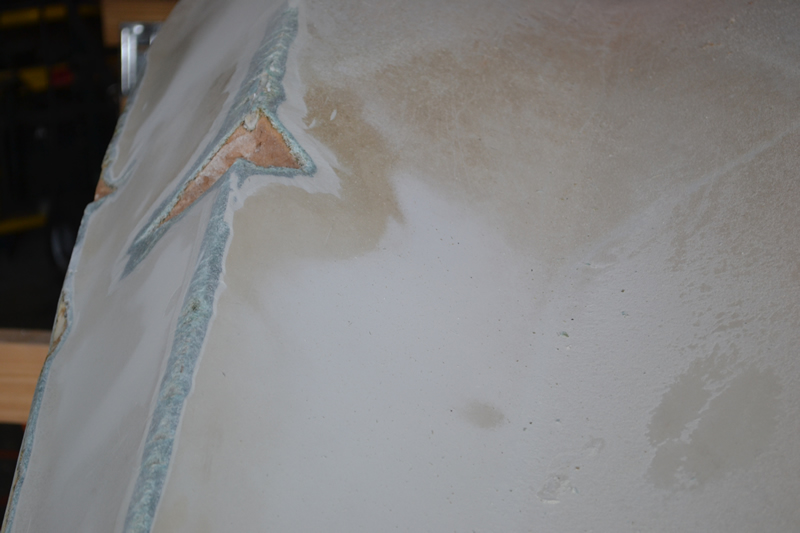
Fill, Sand... Repeat
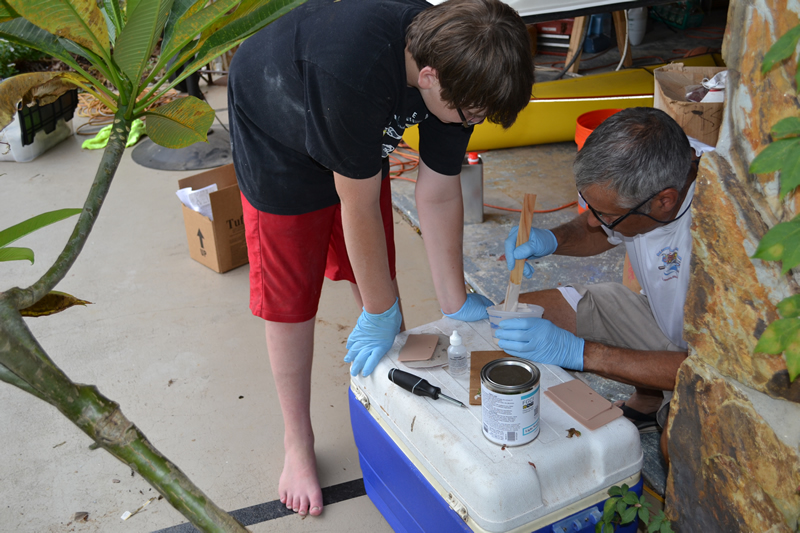
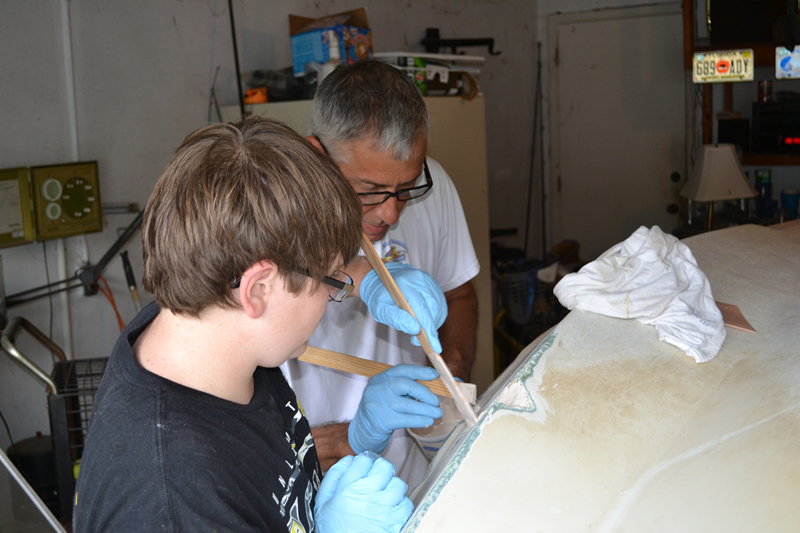
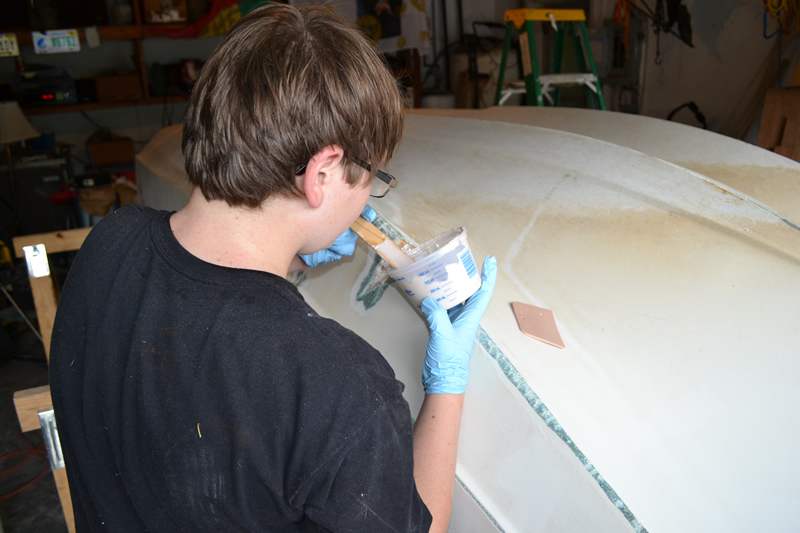
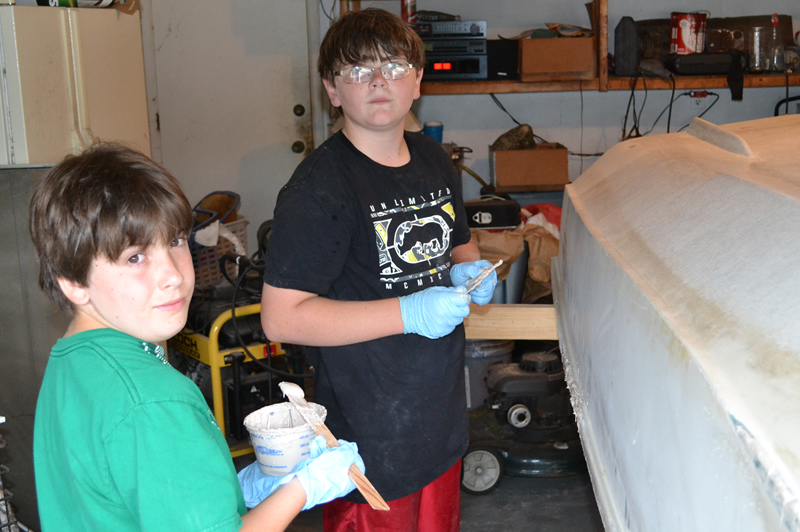
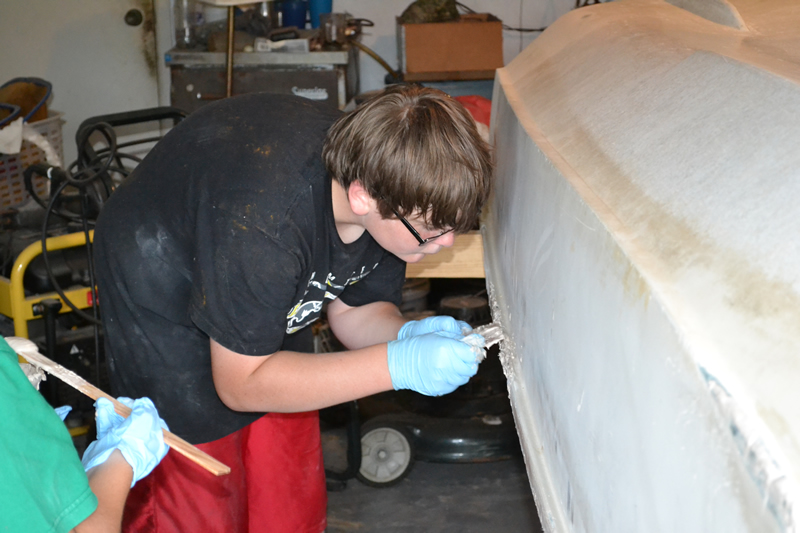
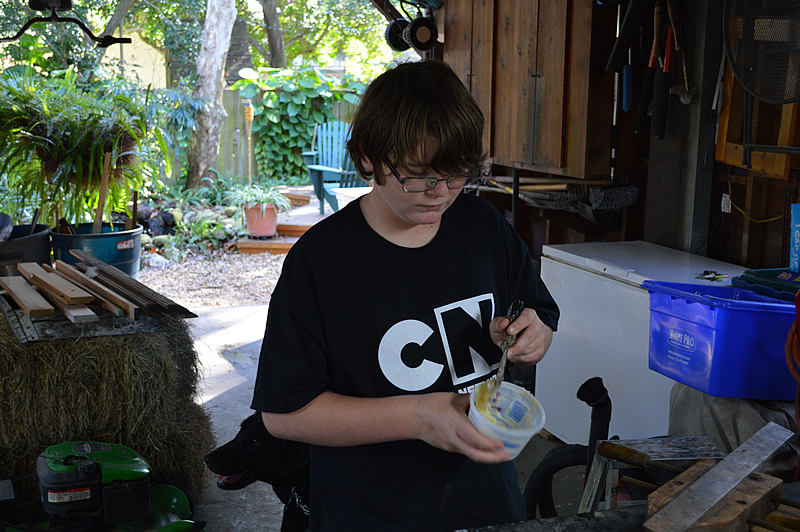
Next we were off on a field trip to Fiberglass Coatings, the DIY fiberglass experts, where we found all of the help/advice/materials that anyone could want. As Nick had some material left from his last build all we needed was some putty, activator, acetone, resin, a few cups, scrapers and brushes. The first application was just the putty, and on the second we mixed some loose glass in. As you can see, it was so much fun that Mr. Jim's youngest David just had to jump in.


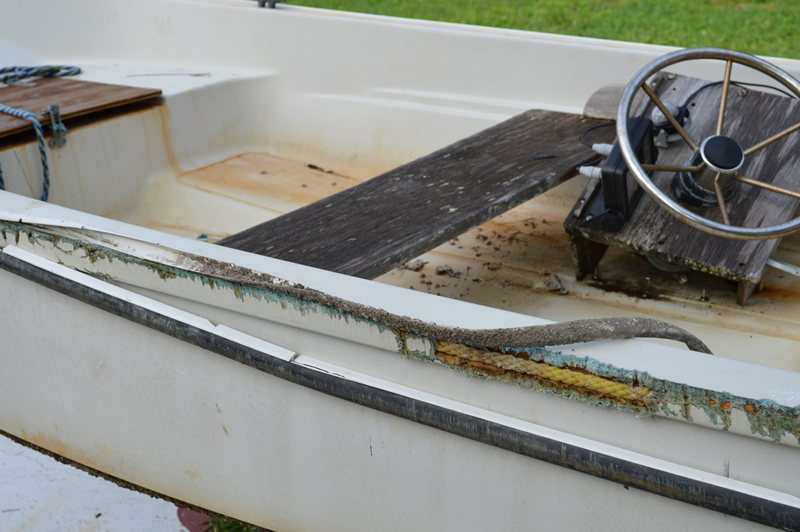
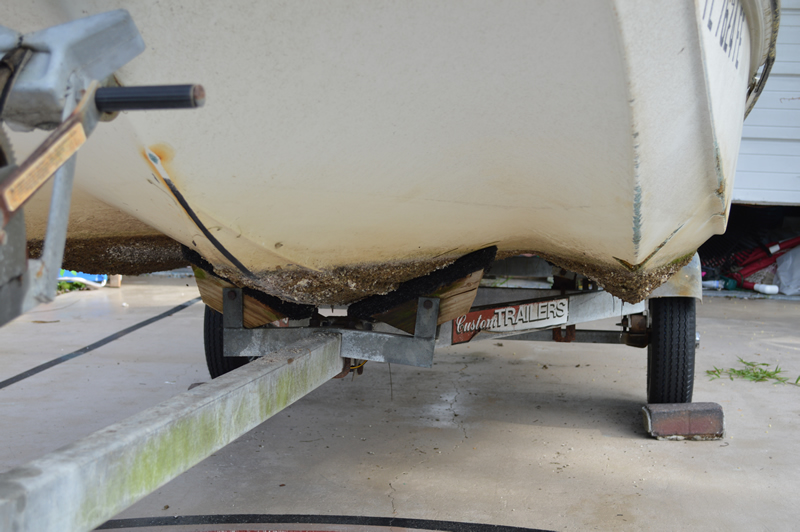
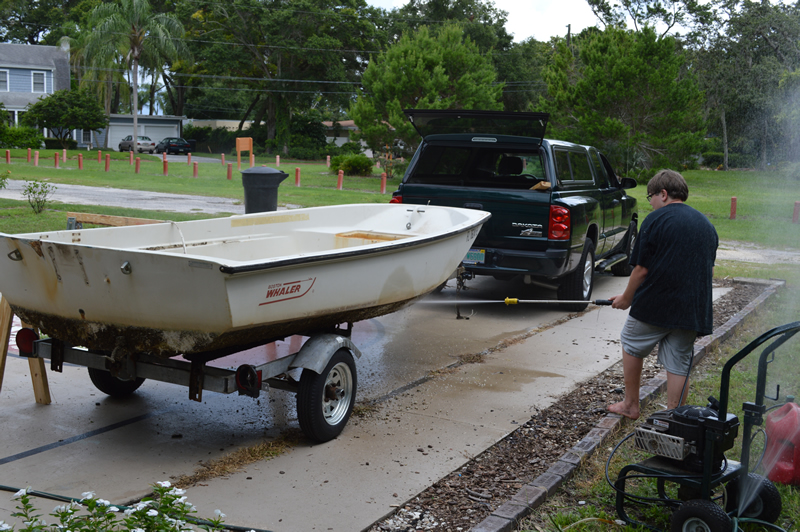
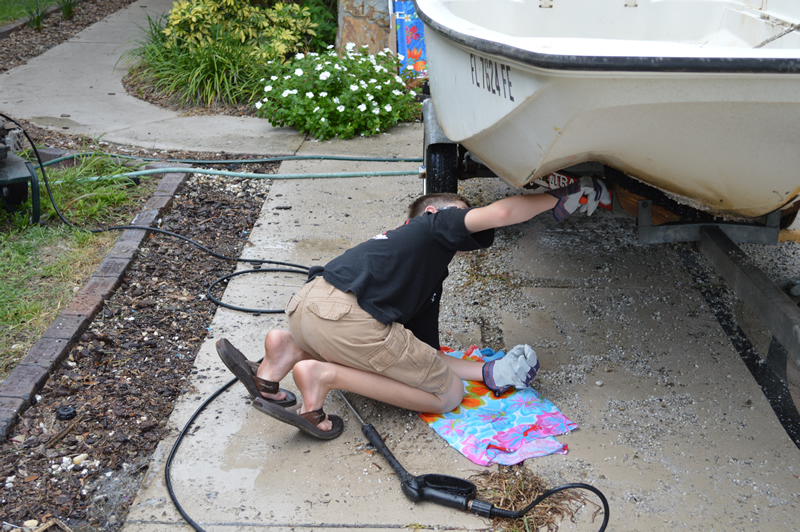
Trailer Repair
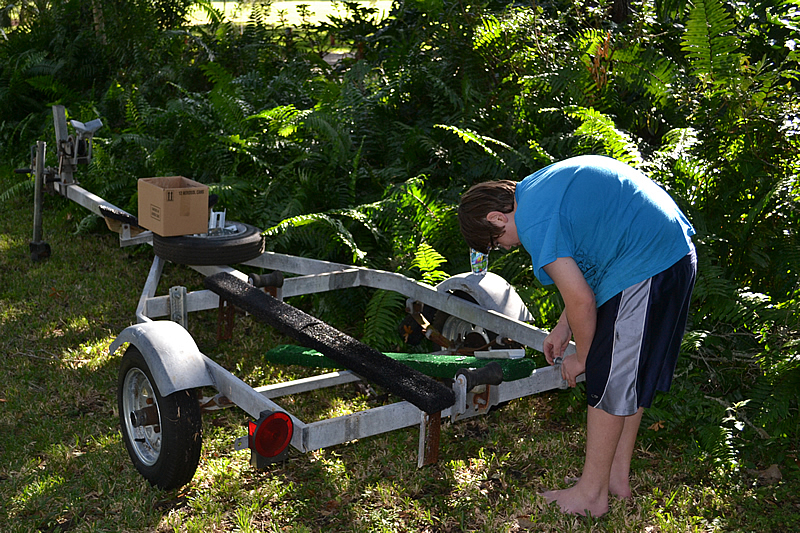
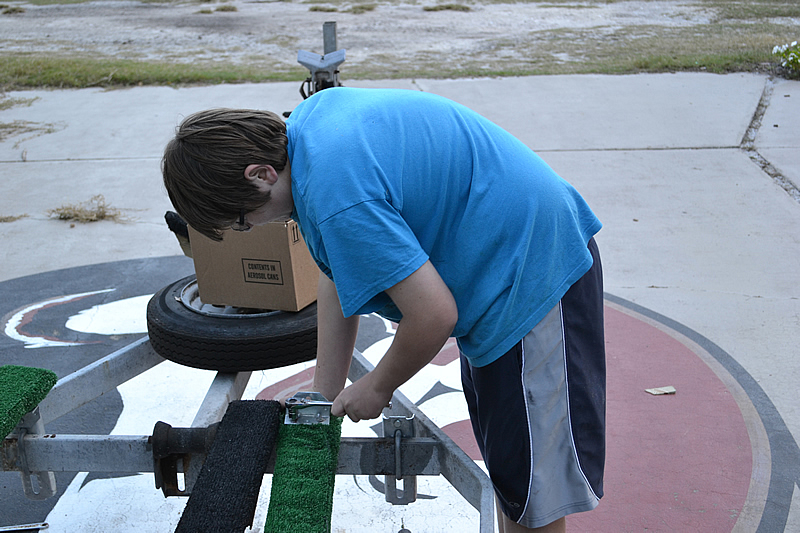
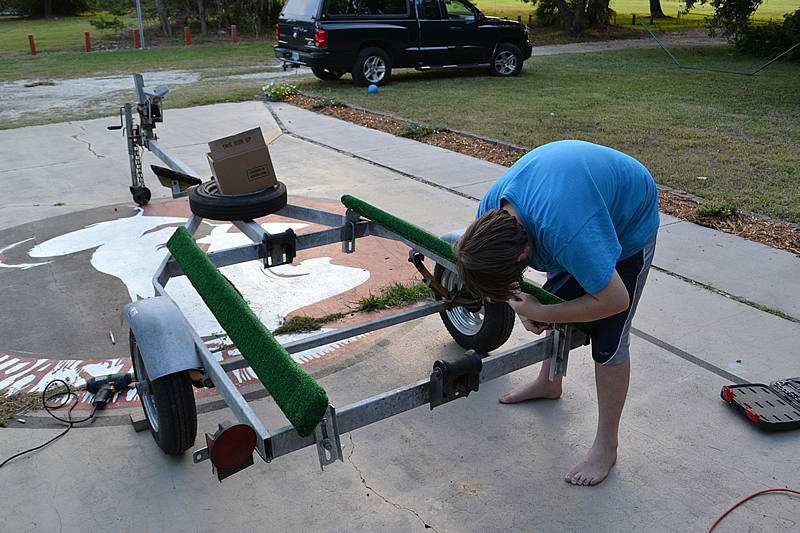
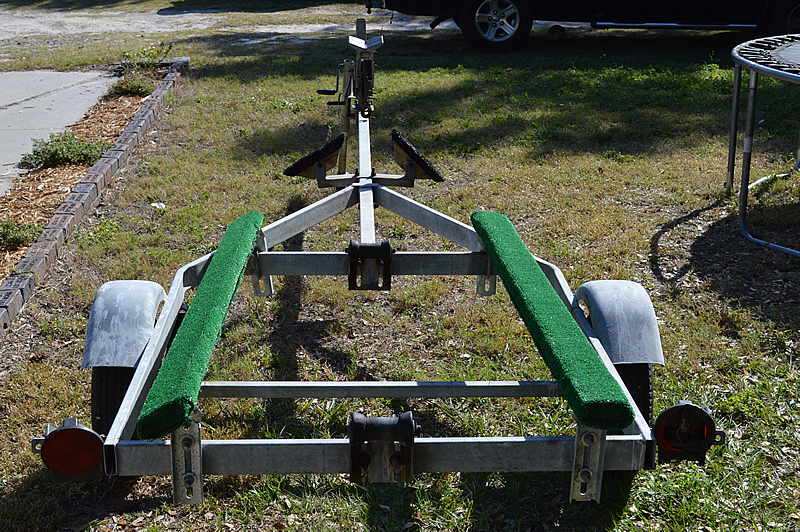
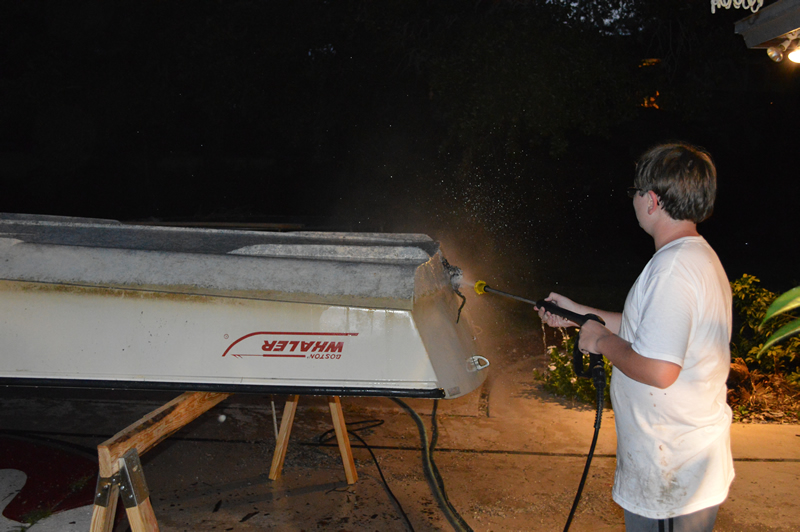
Time to get the boat back on the trailer for a thorough cleaning, but couldn't do that until the bunks had been replaced.
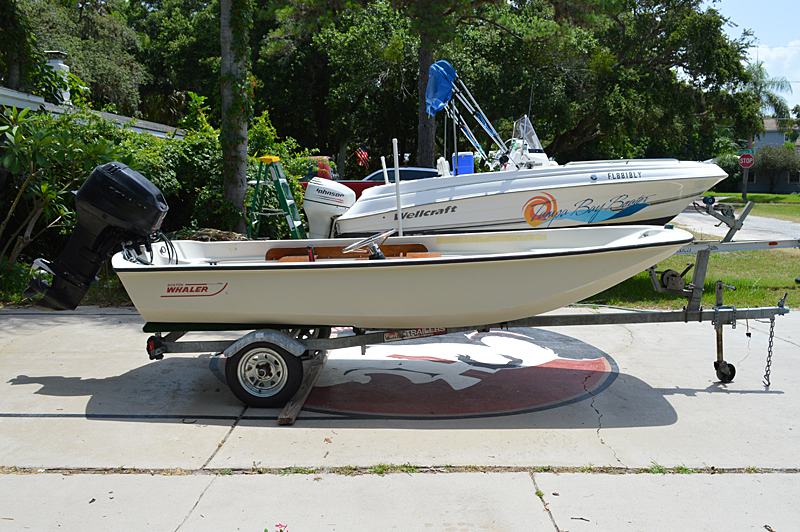
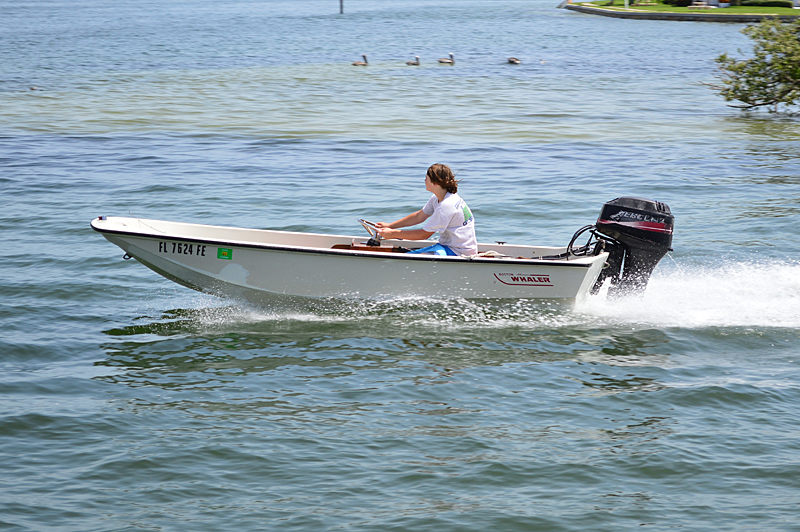
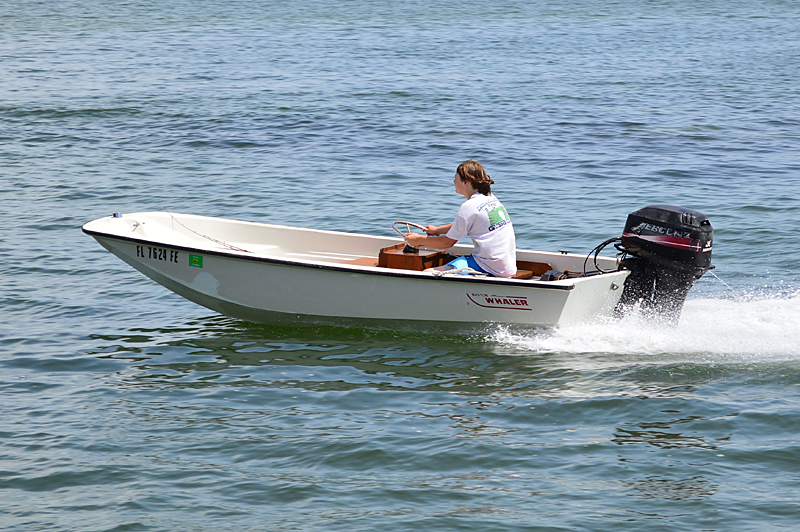
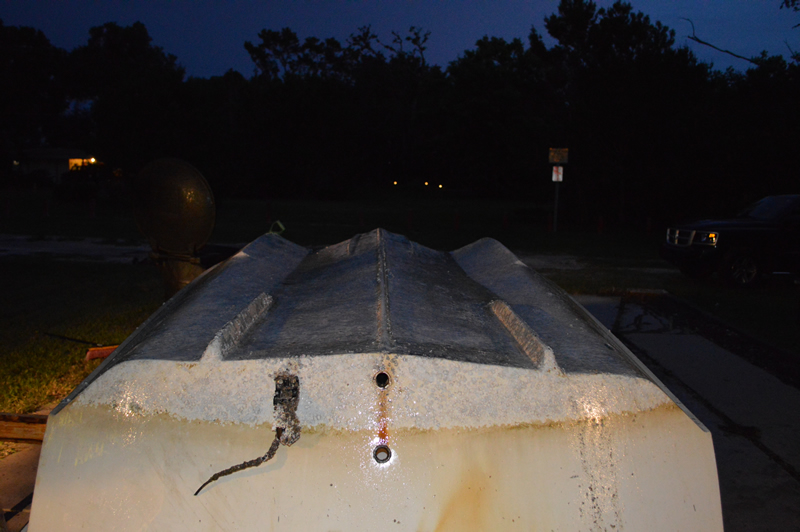
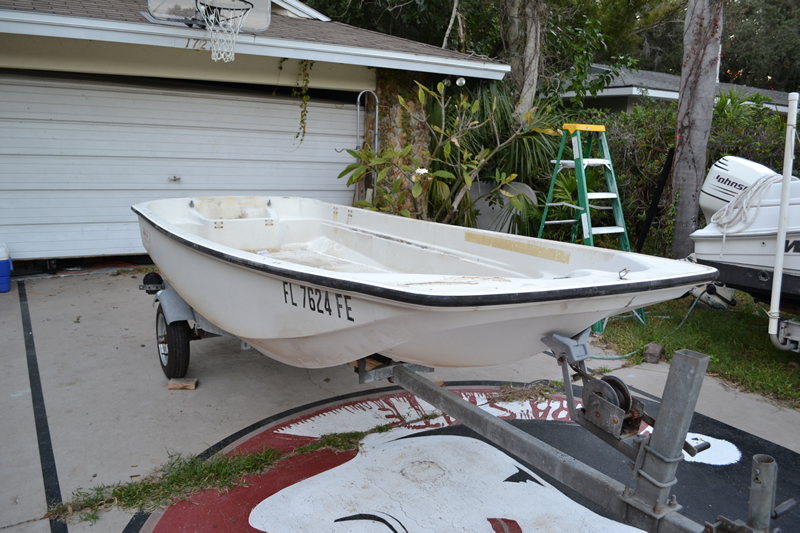
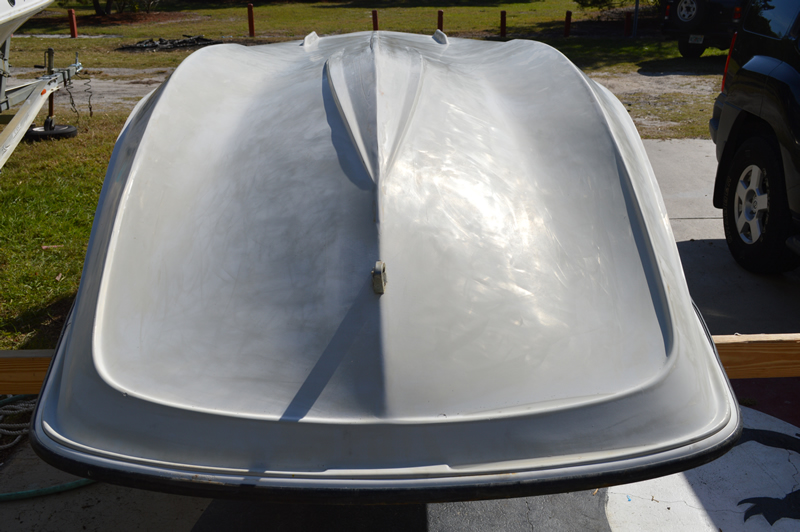
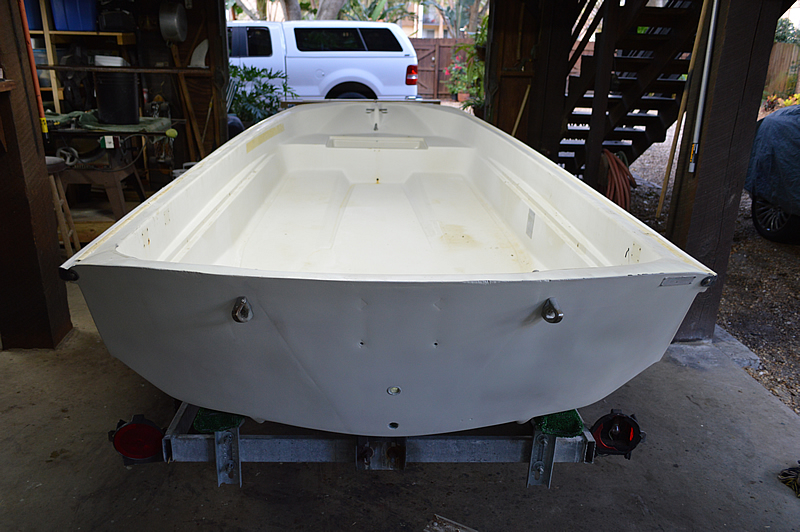
It felt good to see it upright again... if even for a short while (for a thorough scrubbing) as it provided such a stark contrast to where we started.
It felt good to see it upright again... if even for a short while (for a thorough scrubbing) as it provided such a stark contrast to where we started.
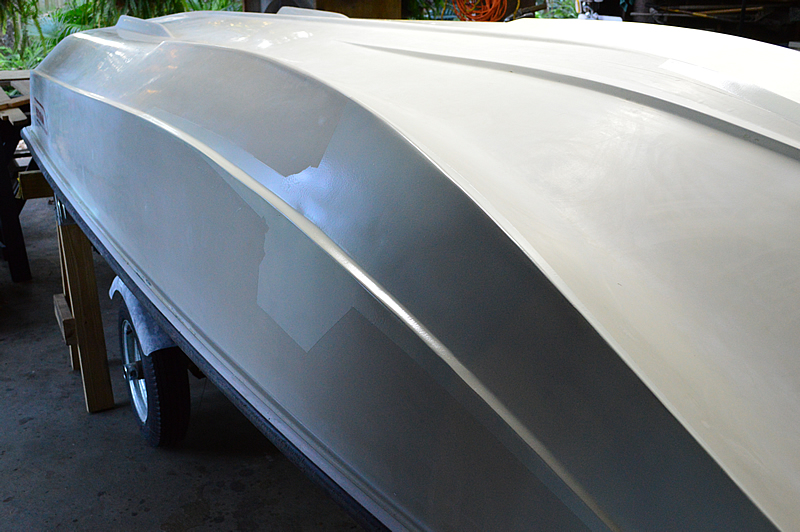
Wet Sand
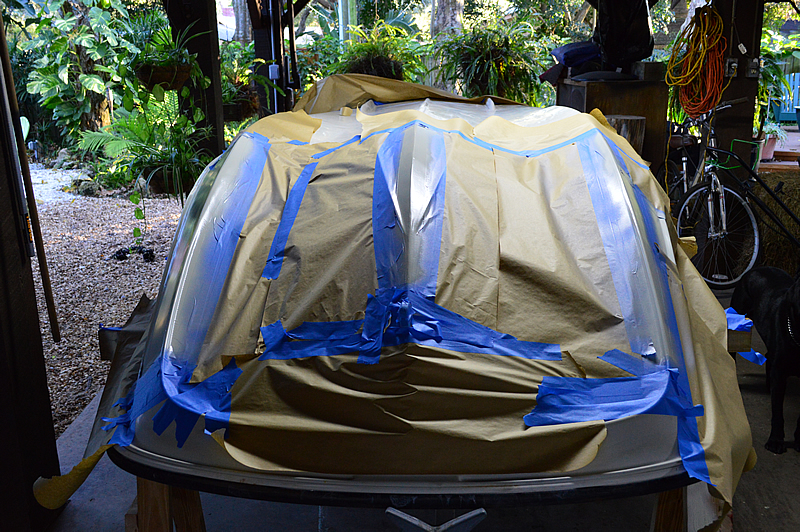
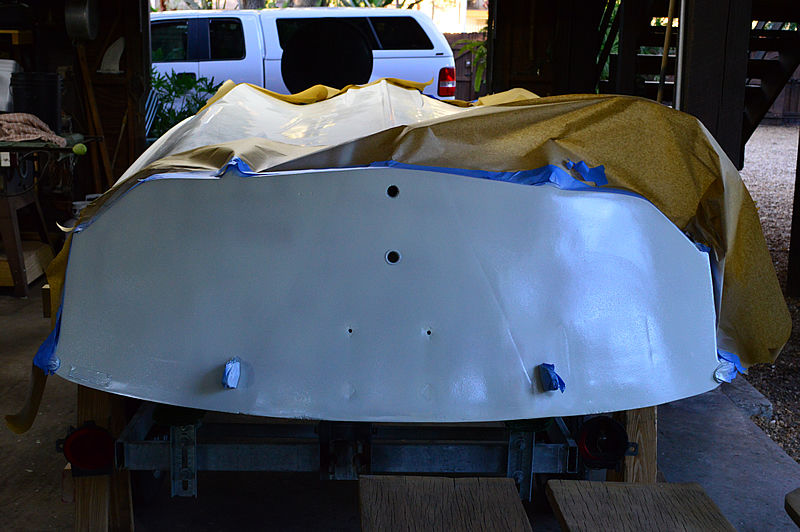
Mr. Wizard - Gelcoat
Off to Mr. Nick's shop where he taped it up and shot fresh gelcoat over the repaired areas. He mixed yellow and black pigments to come up with a very close match to the existing color (a far cry from the original white).


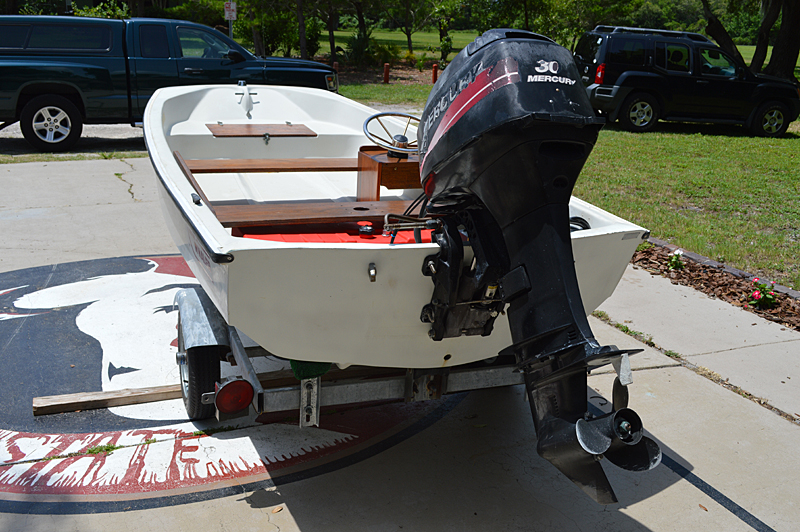
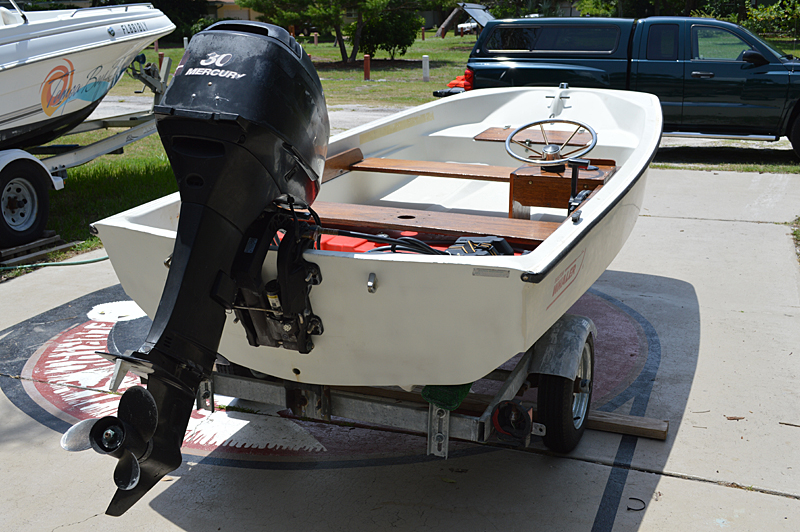
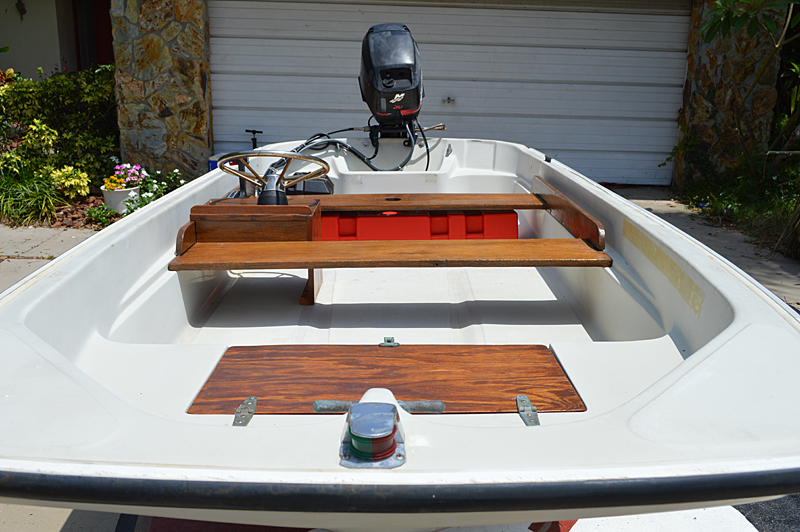
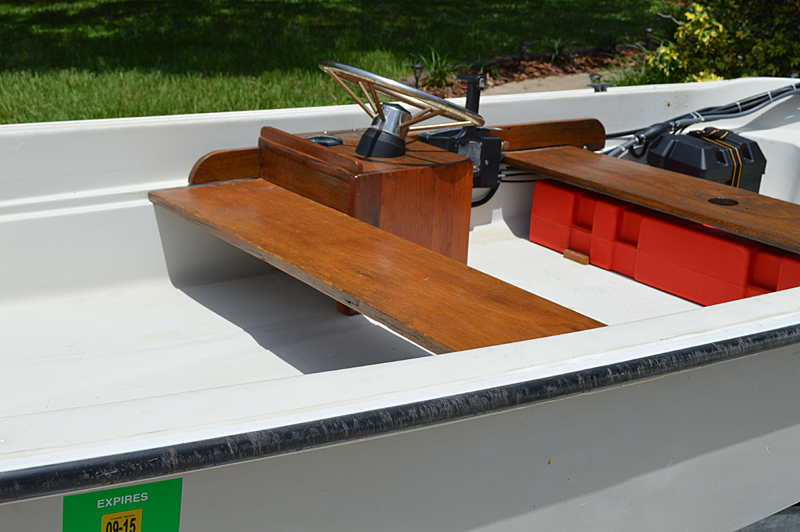
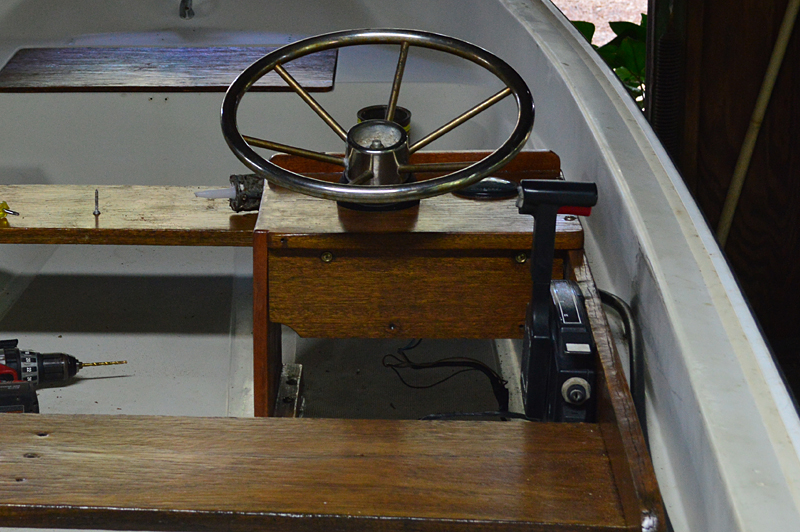
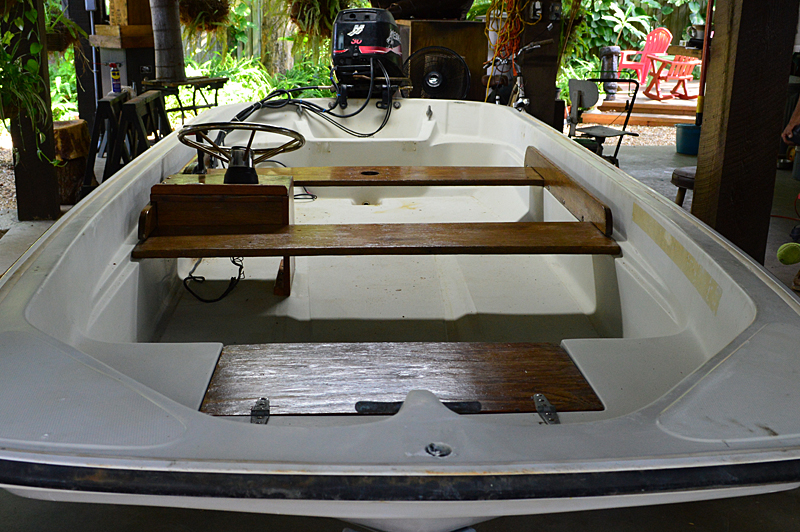
Helm Rebuild
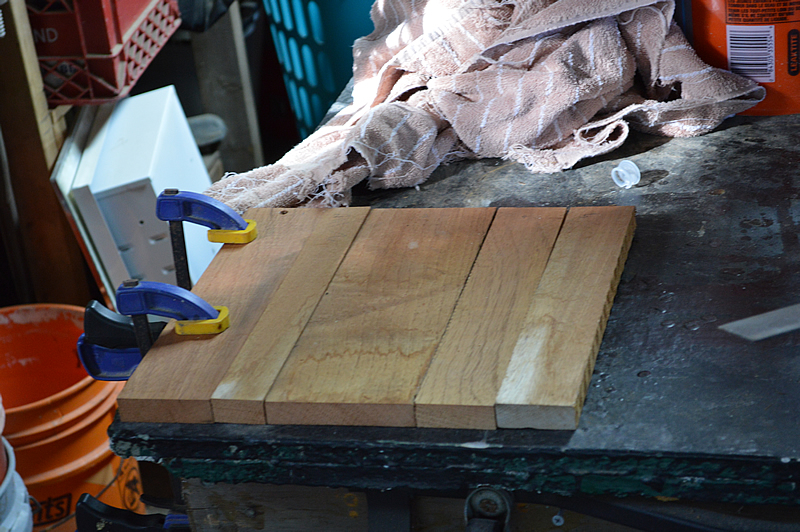
Connor sanded the wood that had dried and we pieced it together to get an idea of what would be required to rebuild the helm. Nick was able to cut down the old would enough to get rid of the rot and barely leave enough room for the steering. He and Connor then pieced together a few teak pieces, that Rod had left, to form the lateral support to the helm.
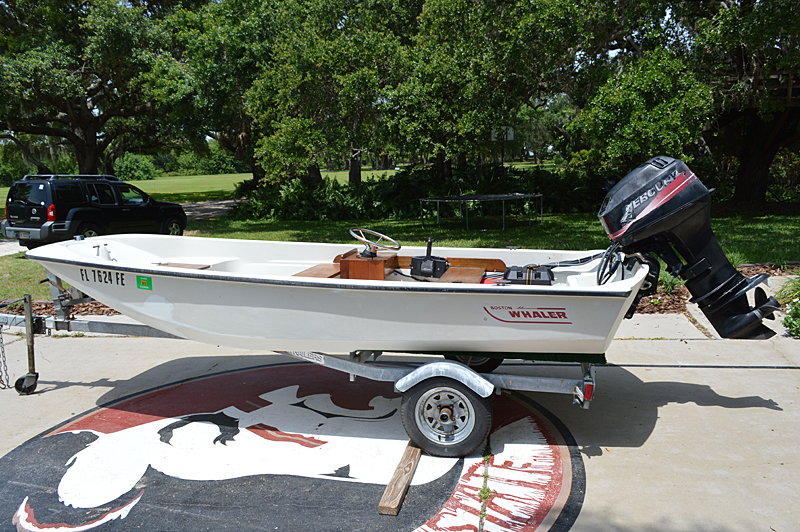
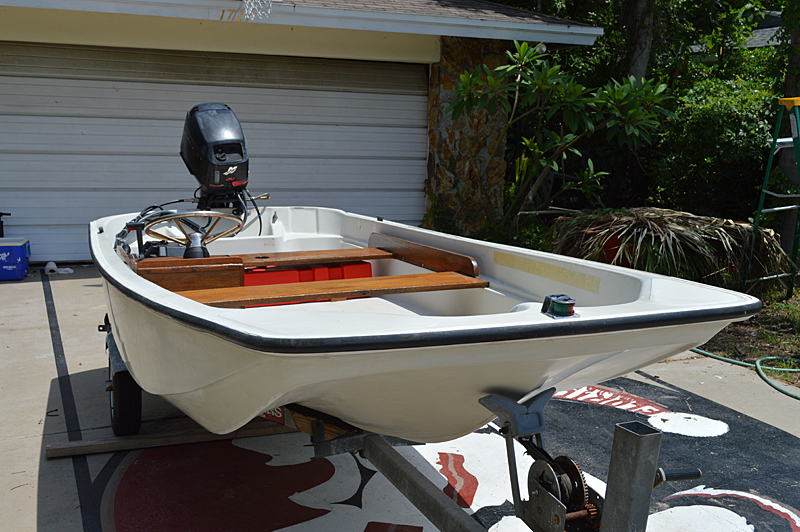
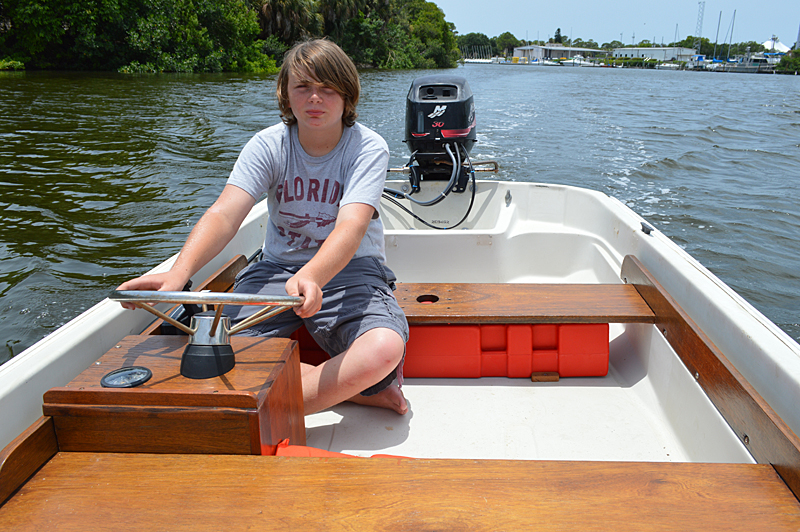
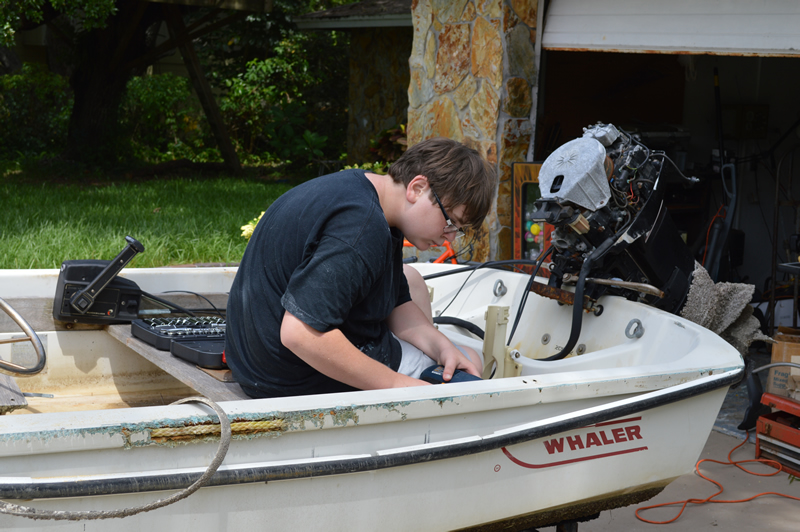
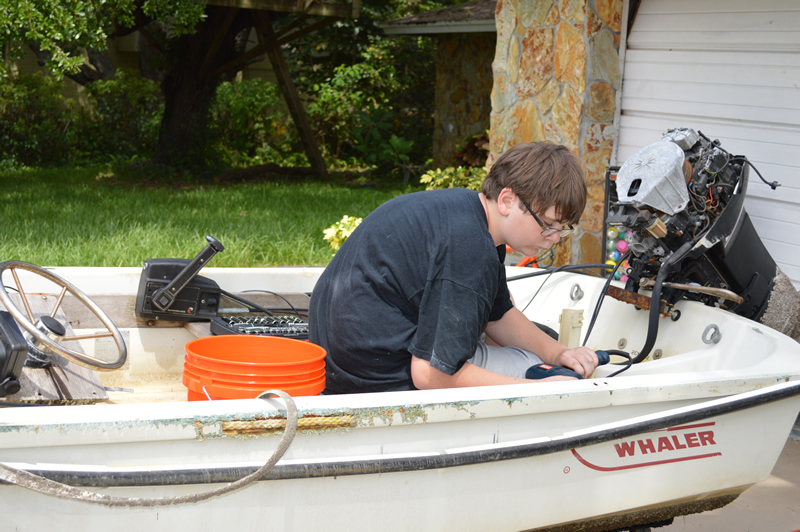
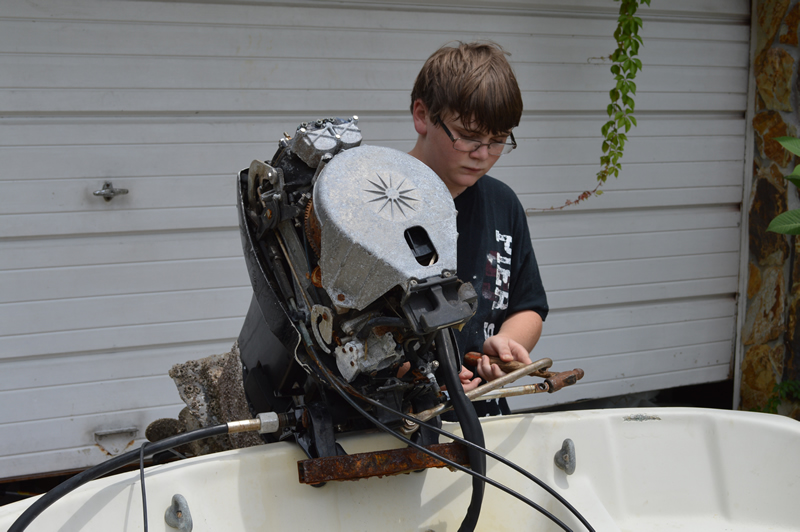
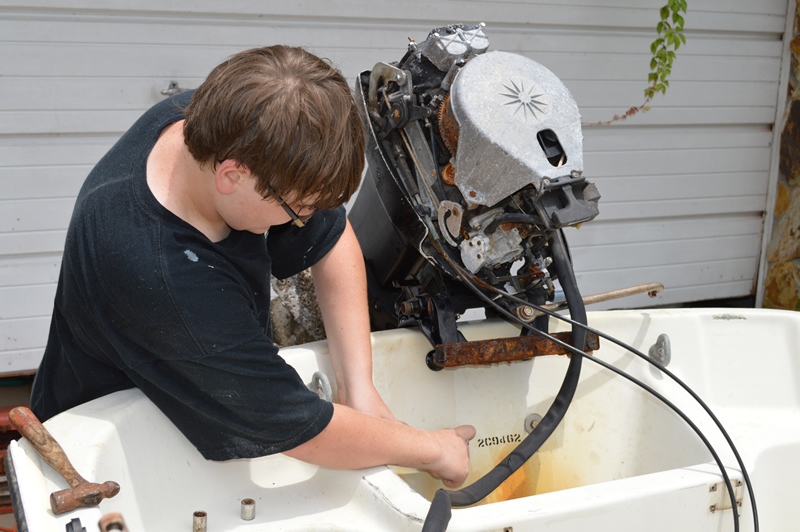
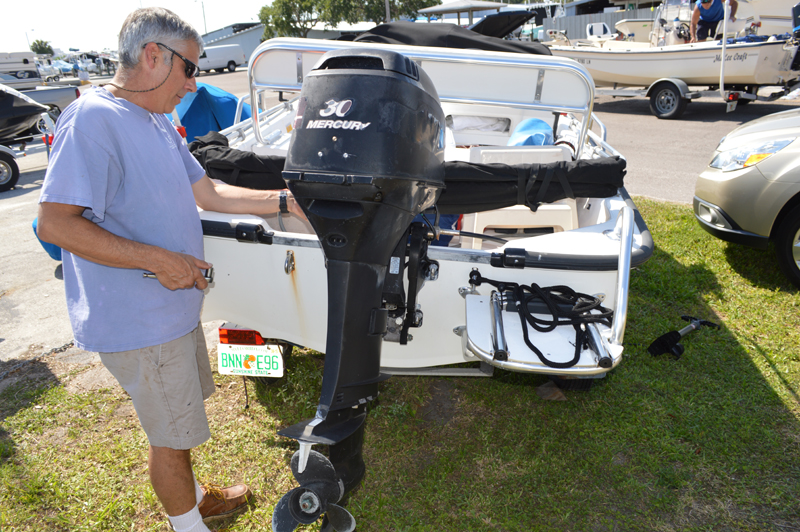
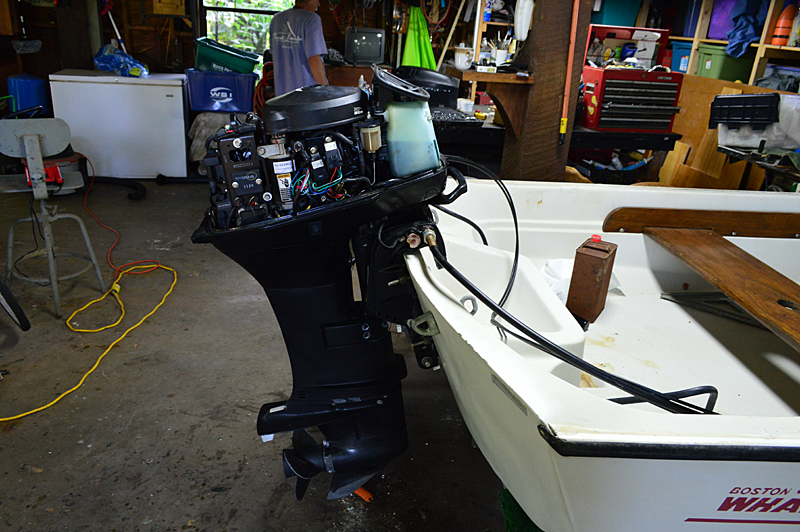
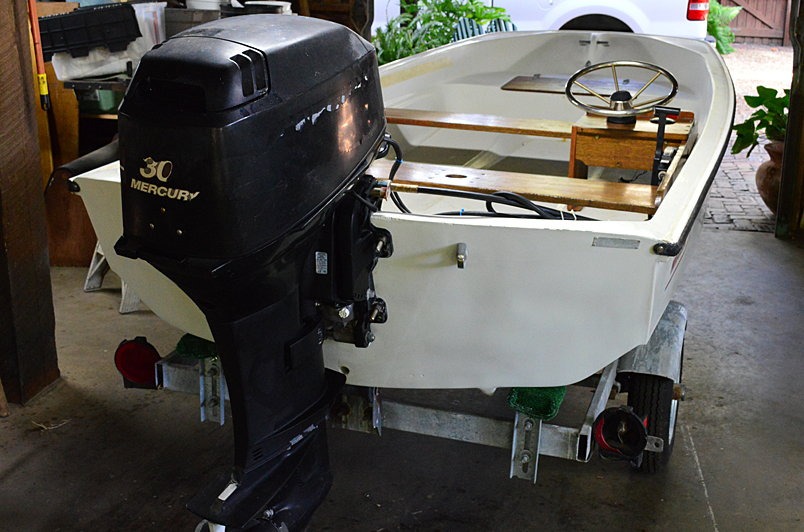
The Motor
Finding a motor would seem to be the easy part but in fact it was quite the issue. I was amazed to find how well used motors retained their value. For example we could by a new 40hp for about $5500 but to buy one 10 years old I was still going to have to spend $3000. I just couldn't justify the expense on either end and finally we found a 2000 30hp in the paper for $2000 with controls. It started right up, the compression and lower unit oil were good so we brought her home after a little negotiating for $1550.
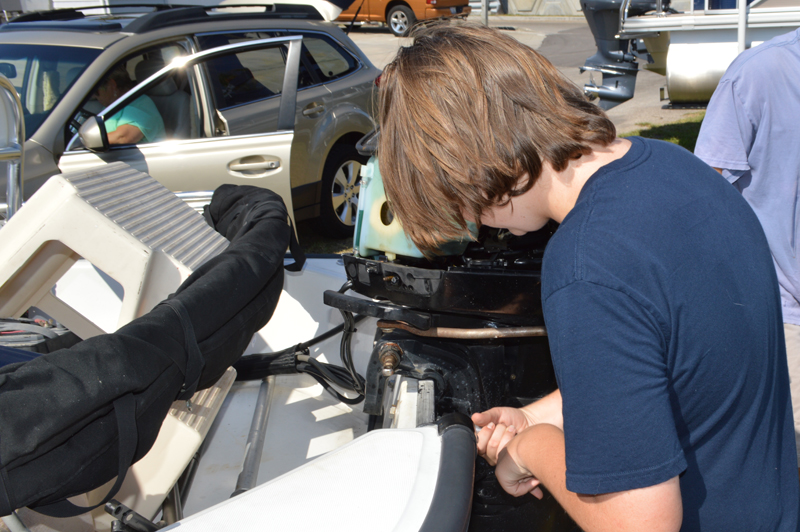
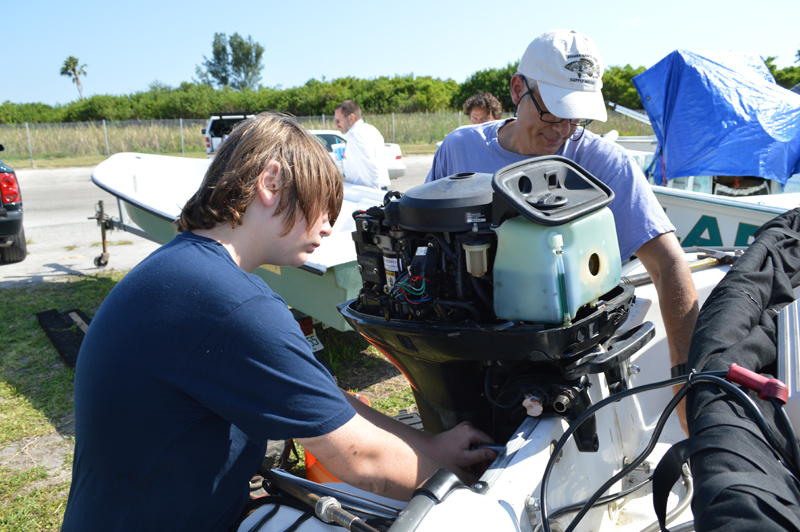
Now that we had the motor we headed back to Mr. Nick's shop to hang it. This, like every other, step in the process was much more than I expected. We started by disassembling the interior, fitting everything together and then reassembling in a permanent fashion by sealing every screw with silicone. We filled the holes from the old motor with putty/resin, drilled the new ones and coated them with a hot mix of resin.
Now that we had the motor we headed back to Mr. Nick's shop to hang it. This, like every other, step in the process was much more than I expected. We started by disassembling the interior, fitting everything together and then reassembling in a permanent fashion by sealing every screw with silicone. We filled the holes from the old motor with putty/resin, drilled the new ones and coated them with a hot mix of resin.
Fuel Tank & Battery Box
We debated using two 6 gal tanks vs. one larger (4x the price of two 6 gal)... in the end it came down to not finding 6 gal. tanks that would fit under the rear seat so we decided to go with the one. Gave Stephen a call at the Marine Supply Warehouse, he had the fittings/battery box in stock, the fuel tank delivered the next day and was less than the cheapest price that I could find online!